Gallery Pages
Snippets
Snippets are blocks of content created and maintained by UCM to allow the use of special design elements on a Gallery or Text page.
Insert a Gallery Item Snippet
- Click the puzzle piece icon in the WYSIWYG Editor.
- Use the "Filter by name" field to type "Gallery Item" or scroll to the "Gallery Item" Snippets.
- Choose the Gallery Item Snippet you would like to use.
- Click Insert.
- Please note: some Gallery Item Snippets need to be inserted into a Gallery Item - Text Snippet to work correclty on a Gallery Page.
Gallery Item Snippet Options
- Band with Background Color
- Call to Action
- Heading
- Heading (Anchor Link Compatible)
- Image
- Images - Two-Column
- Rotator
- Text
- Text and Embed
- Text and Image
- Video
Band with Background Color

Editing view of Gallery Item - Text Snippet inside a Gallery Item - Band with Background Color Snippet.

Preview of Gallery Item - Text Snippet inside a Gallery Item - Band with Background Color Snippet.
After you've inserted a Gallery Item - Band with Background Color Snippet:
- Add an additional Gallery Item Snippet inside the Band with Background Color Snippet.
- This will create a gray box surrounding the chosen Gallery Item Snippet.
- Edit the chosen Gallery Item Snippet.
- Save your changes.
Call to Action

Editing view of Gallery Item - Call to Action Snippet.

Preview of Gallery Item - Call to Action Snippet.
The purpose of the Gallery Item - Call to Action Snippet is to drive traffic to specific functionality on your website. For example, at different points of the year, you may want to drive prospective students to apply, or donors to give, or community members to attend a campus event. In order to implement this option successfully, you need to identify your key audience(s), analyze their needs, and meet those needs by producing a call to action that allows them to complete a specific task that you know is important to them.
Before you've inserted a Gallery Item - Call to Action Snippet:
- Navigate to the "widgets" folder of your site directory.
- Click either New or the arrow icon.
- Clicking the arrow icon will provide a quick look at which widgets are available, while clicking New will provide a larger view.
- Select "Call to Action".
- Complete all required information, following all instructions.
- Click Create.
- Click MultiEdit.
- Make all appropriate changes.
- Click Save.
- Publish the newly created Call to Action widget to Test and Production.
The Call to Action must meet certain specifications:
- Each headline has a character limit of 20.
- Each summary has a character limit of 50.
- Each box must have an icon, created by UCM.
- Icons are located in /images/cta-icons.
- Each box must link to a web page.
- There must be exactly four icons displayed.
After you've inserted a Gallery Item - Call to Action Snippet:
- Highlight the "Link to CTA Widget" link.
- Click the link icon in the WYSIWYG Editor and navigate to the newly created Call to Action widget.
- Click Save.
Heading

Editing view of Gallery Item - Heading Snippet.

Preview of Gallery Item - Heading Snippet.
After you've inserted a Gallery Item - Heading Snippet:
- Highlight the "Gallery Item Heading" text.
- Type in or paste your Heading.
- Click Save.
Heading (Anchor Link Compatible)
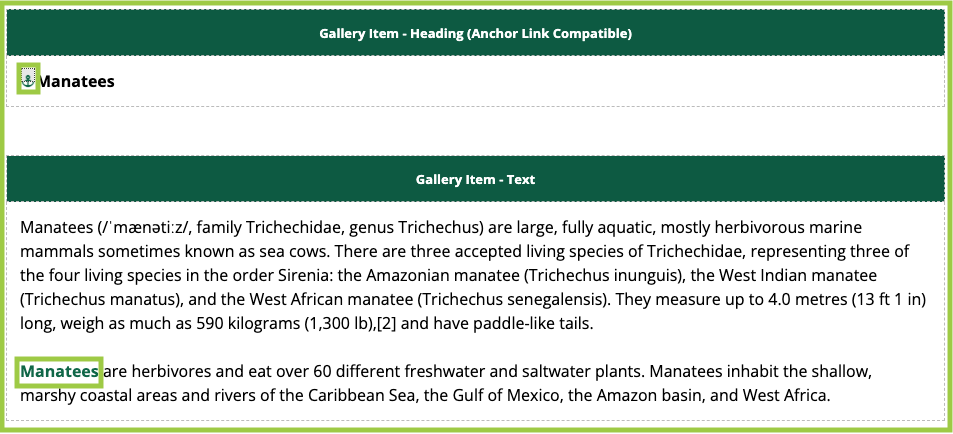
Editing view of Gallery Item - Heading (Anchor Link Compatible) Snippet.
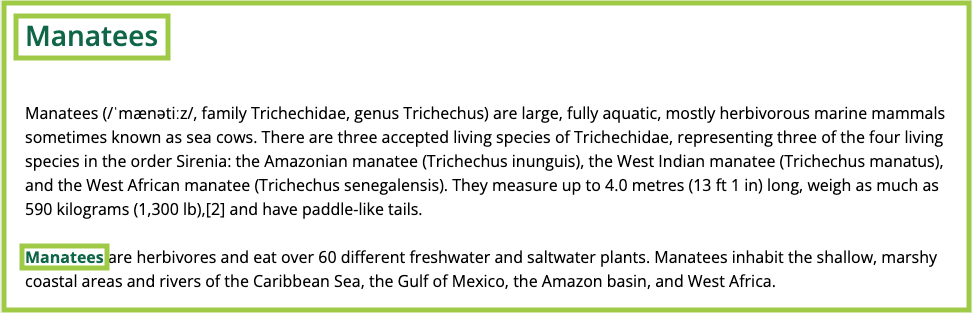
Preview of Gallery Item - Heading (Anchor Link Compatible) Snippet.
The Anchor icon can be thought of as a bookmark on a page and allows users to jump to a specific location on that page with just a click. For example, a FAQ page may use anchor links to move users to an answer when a certain question is clicked. View UCM’s Logo Usage page to see anchor links in action.
After you've inserted a Gallery Item - Heading (Anchor Link Compatible) Snippet:
- Position the cursor where the anchor should be placed (within the the Heading (Anchor Link Compatible) Snippet).
- Click the Insert/Edit Anchor icon.
- In the Anchor Name field, enter the name for the anchor.
- Click Insert.
Names should be as short as possible and use lowercase letters. Numbers can be used, but they cannot start with a number. An anchor icon will then appear next to the text.
Link to an Anchor
- After creating the anchor, select the text that will link to it (outside of the Heading (Anchor Link Compatible) Snippet).
- Click on the Insert/Edit Link icon.
- Select the appropriate anchor from the Anchors drop down menu and click Insert.
Modify an Anchor
- Click the existing anchor shown in the editing area.
- Click the Anchor icon on the toolbar.
- The Insert/Edit Anchor dialog shows the existing text for the anchor.
- Make the modification to the text and click Update.
Image
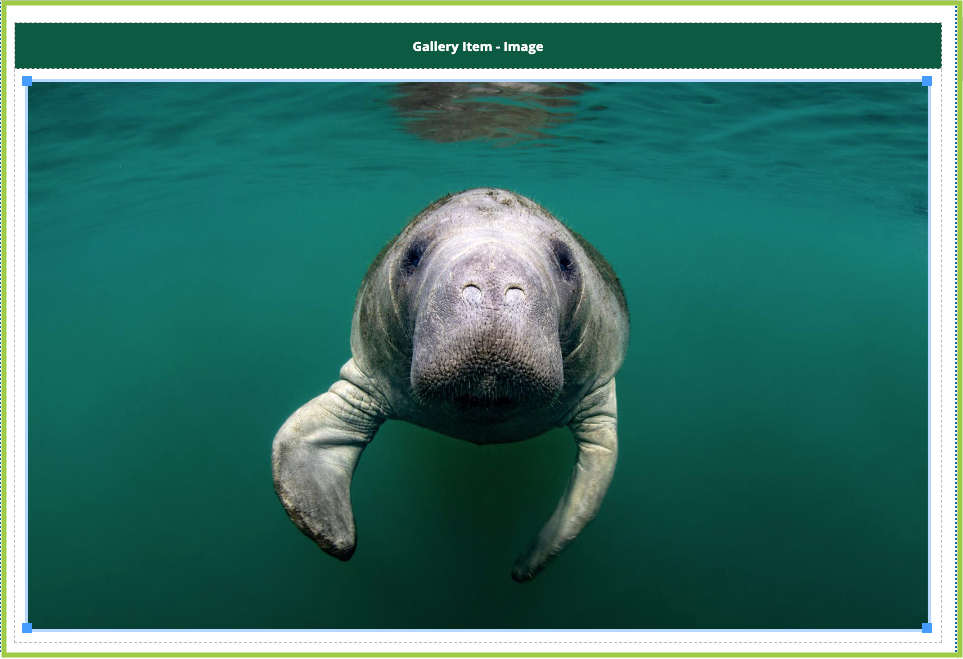
Editing view of Gallery Item - Image Snippet.
Image size: 1700 px by 957 px
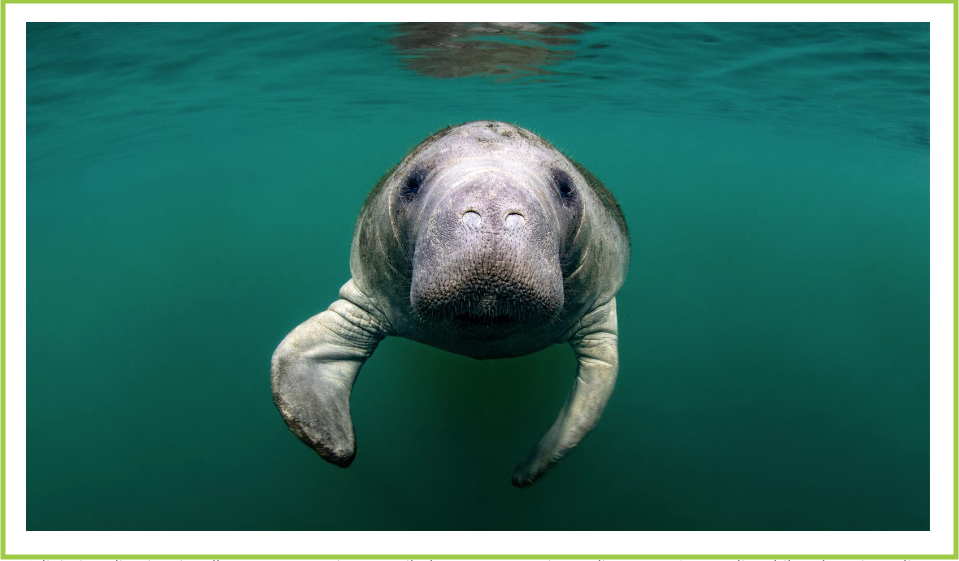
Preview of Gallery Item - Image Snippet.
Image size: 1700 px by 957 px
After you've inserted a Gallery Item - Image Snippet:
- Click the gray box in the Snippet, which highlights the "Insert/edit image" icon on the WYSIWYG Editor.
- Using the folder structure, navigate to the image you'd like to add to the page (in the site's "images" folder).
- Click Insert.
- Add alt text to the 'Alternative description' field.
- Click Save.
Images - Two-Column
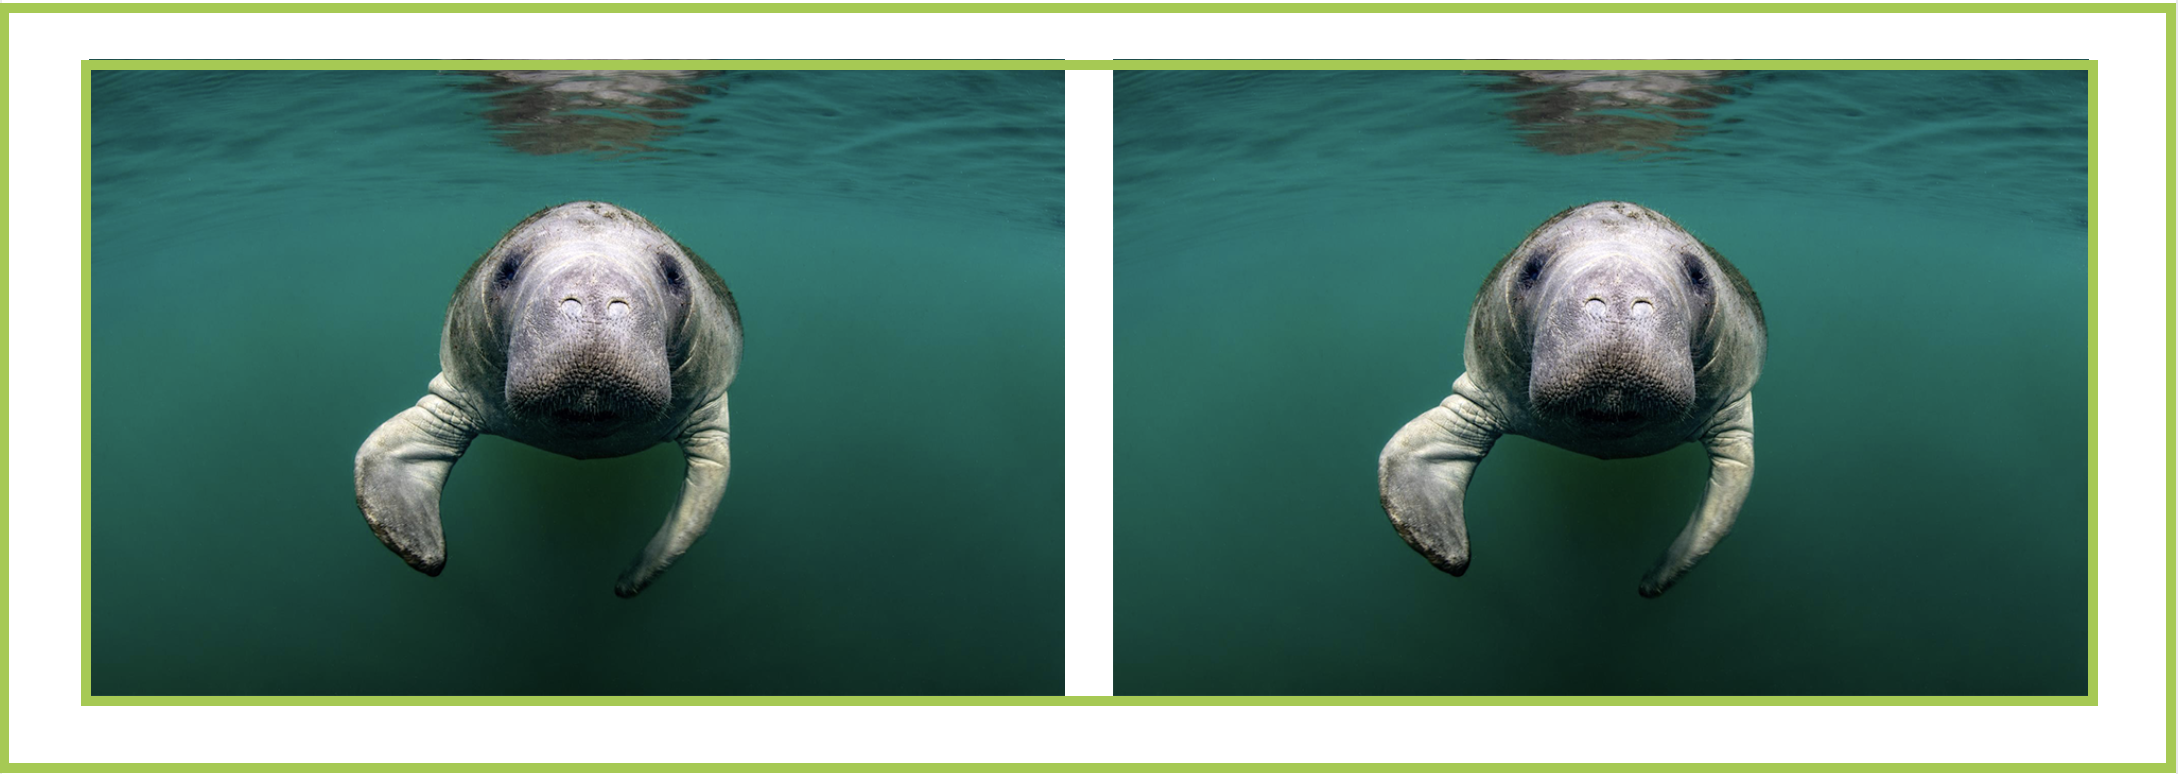
Image size: 920 px by 600 px
After you've inserted a Gallery Item - Images - Two-Column Snippet:
- Click the first gray box in the Snippet, which highlights the "Insert/edit image" icon on the WYSIWYG Editor.
- Using the folder structure, navigate to the image you'd like to add to the page (in the site's "images" folder).
- Click Insert.
- Add alt text to the 'Alternative description' field.
- Click Save.
- Click the second gray box and repeat Steps 3-5.
Rotator
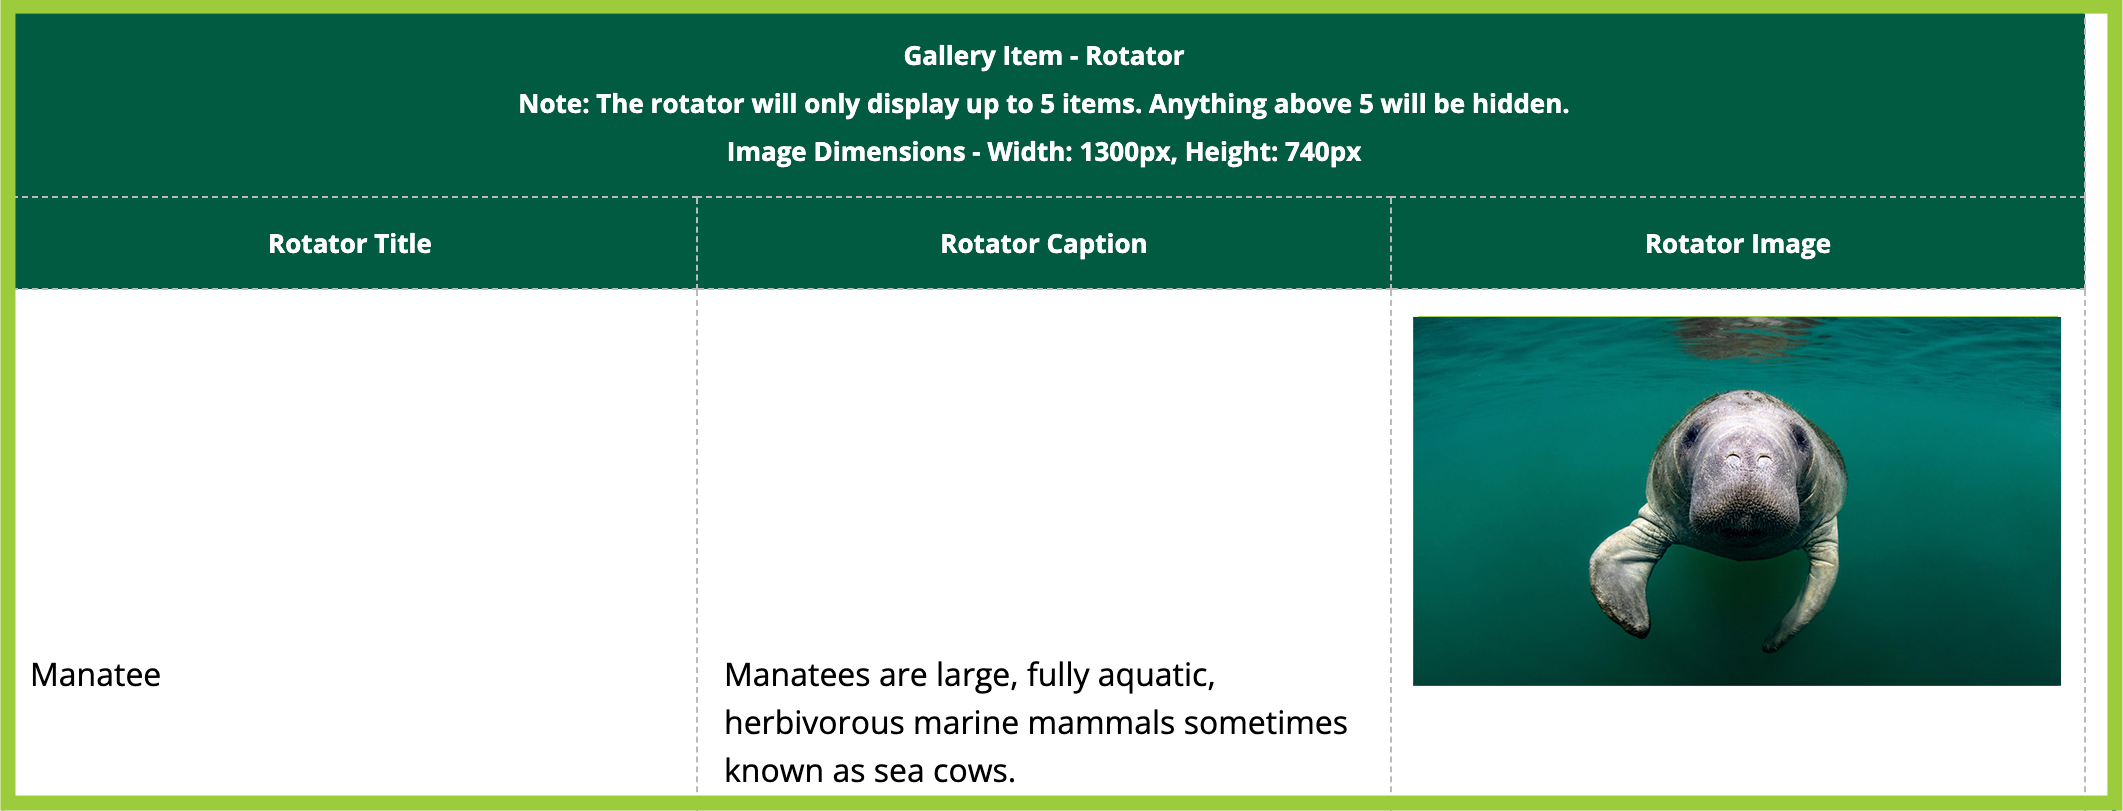
Editing view of Gallery Item - Rotator Snippet.
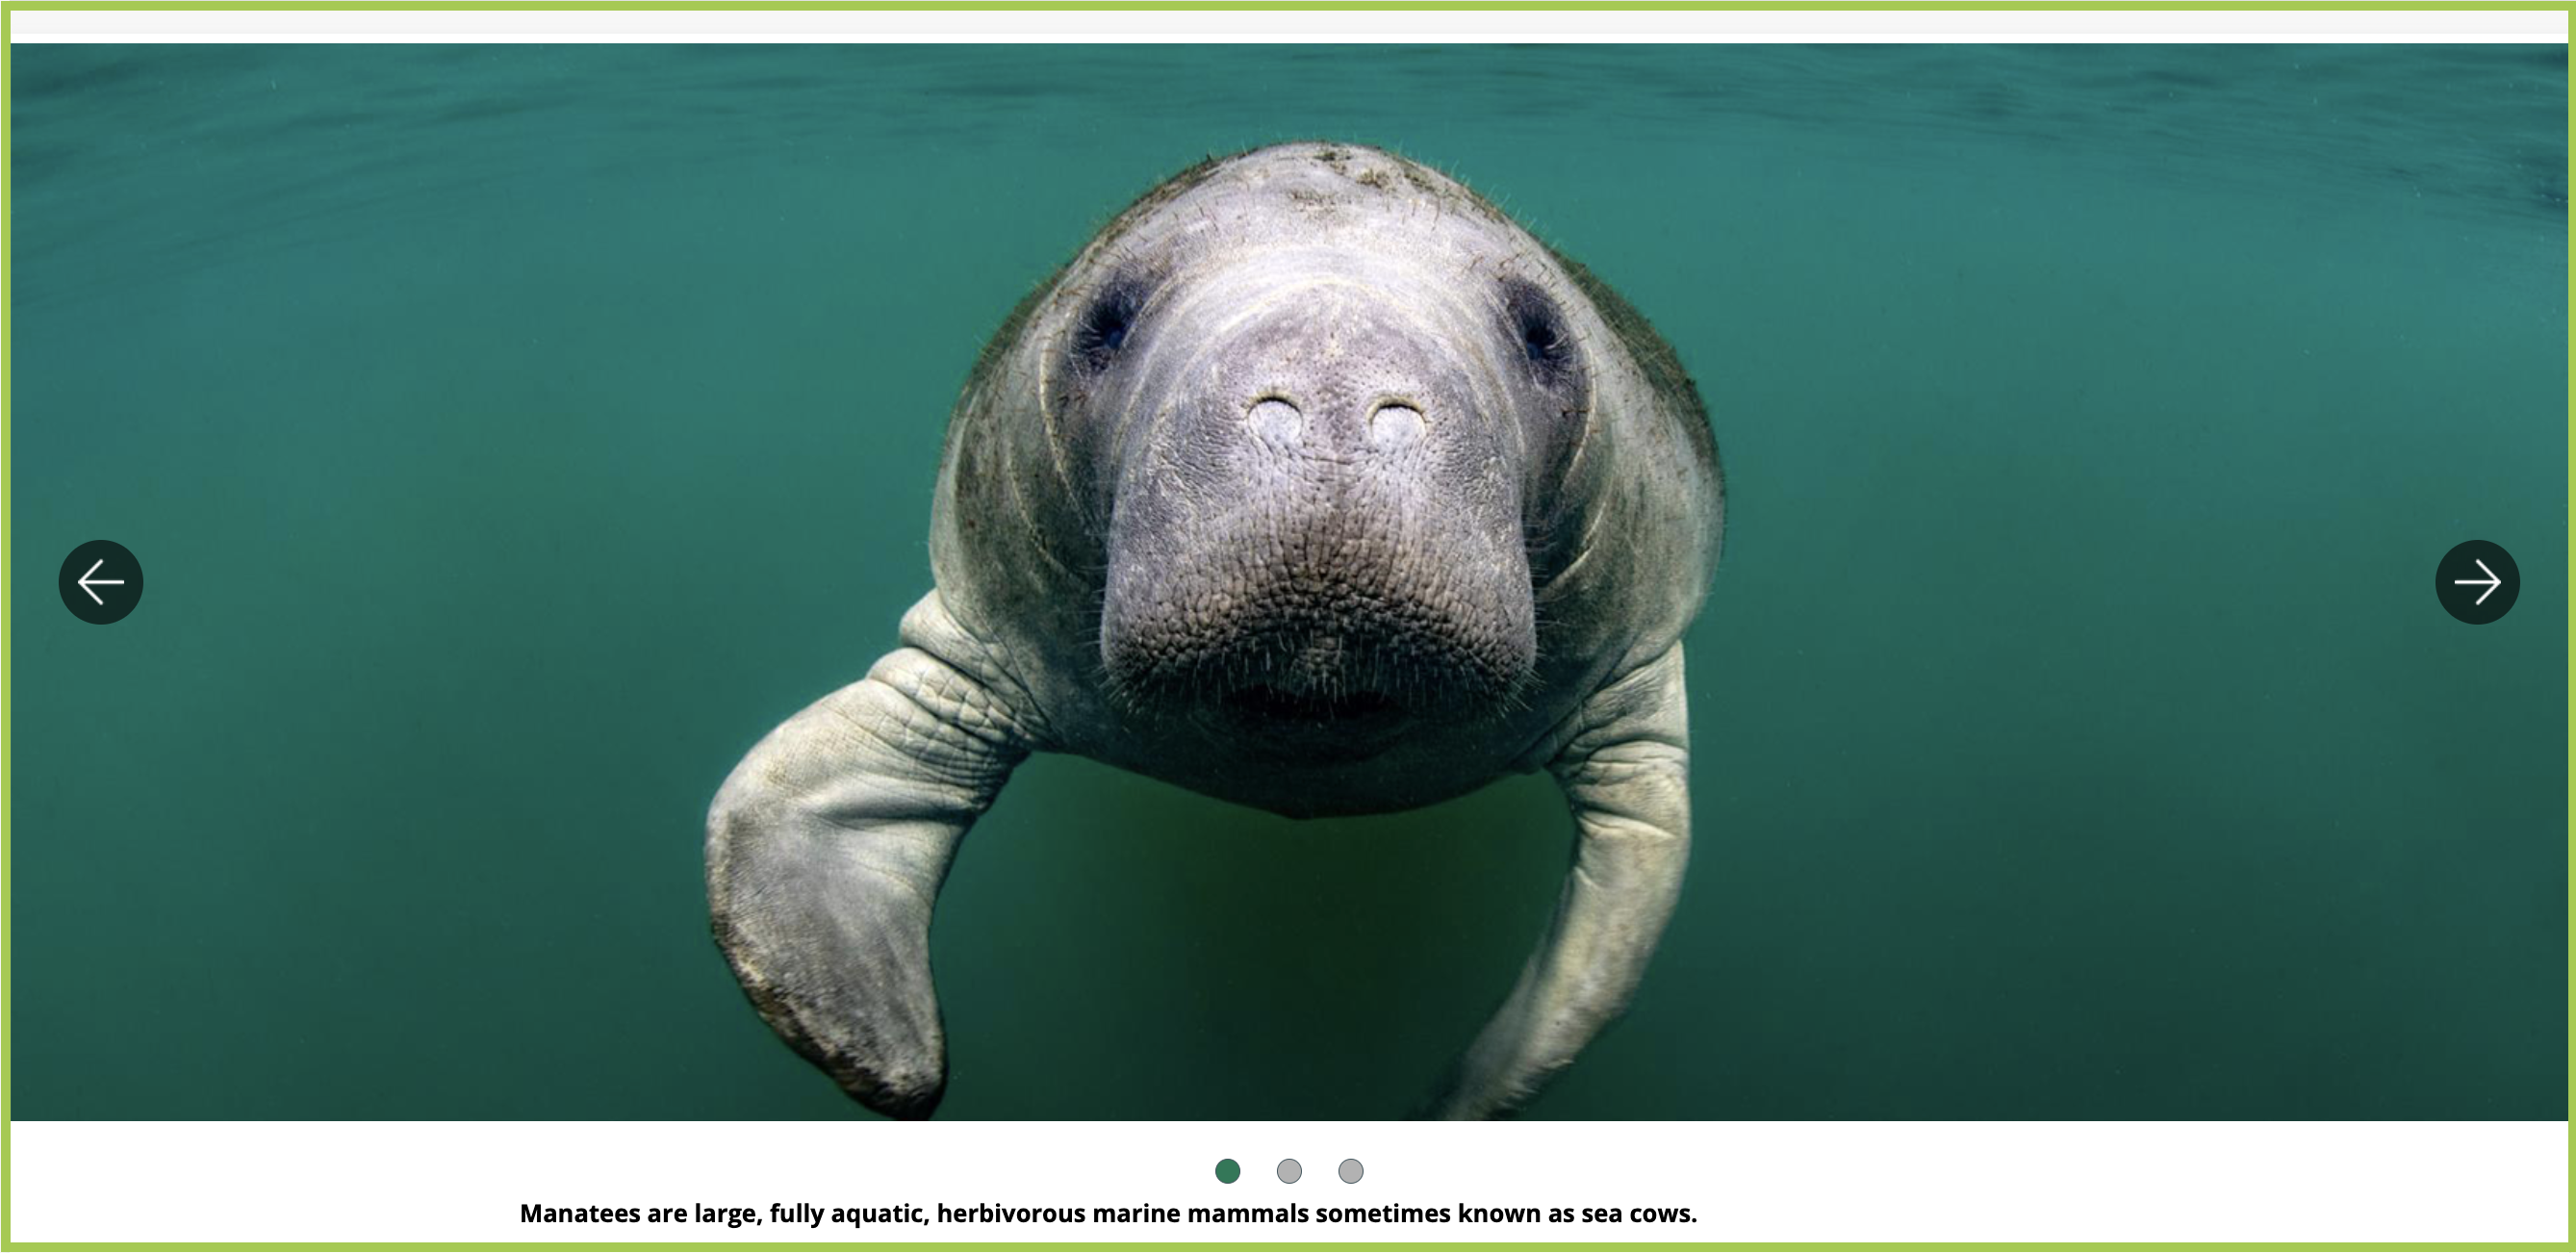
Preview of Gallery Item - Rotator Snippet.
Image size: 1700 px by 968 px
The Gallery Item - Rotator snippet allows 2-5 slides.
After you've inserted a Gallery Item - Rotator Snippet:
- Select Yes or No from the "Auto-Rotation" dropdown.
- If Yes is selected, the Feature Rotator will automatically rotate between slides.
- Select Yes or No from the "Caption Display" dropdown.Each slide allows for its own caption.
- The next five sections allow you to enter the information for each slide and in the order it will appear in the Feature Rotator.
Text*

Editing view of Gallery Item - Text Snippet.

Preview of Gallery Item - Text Snippet.
After you've inserted a Gallery Item - Band with Background Color Snippet:
- Type in or paste your text content.
- Use the WYSIWYG Editor to add styilized elements like bold or italics.
Non-Gallery Item Snippets can be added into this Snippet.
*The Text Snippet must be used to encompass other (non-Gallery Item) Snippets.
Text and Embed
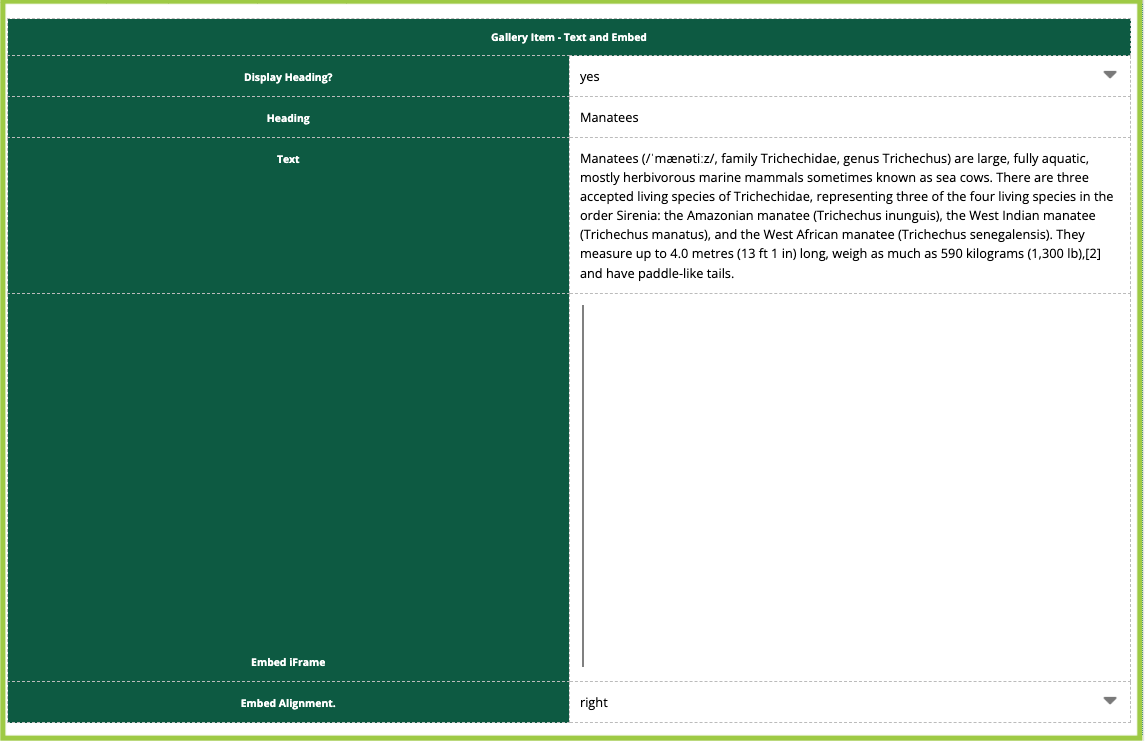
Editing view of Gallery Item - Text and Embed Snippet.

Preview of Gallery Item - Text and Embed Snippet.
The Gallery Item - Text and Embed Snippet includes a Heading (displayed or hidden), Text, and Embed (left or right aligned), displayed as one cohesive section. The Embed can be a Youtube video, Soundcloud podcast episode, etc.
After you've inserted a Gallery Item - Text and Embed Snippet:
- Choose 'yes' or 'no' from the 'Display Heading?' dropdown.
- Type in or paste your Heading in the 'Heading' field.
- Type in or paste your Text in the 'Text' field.
- Click the line in the 'Embed iFrame' field, which highlights the 'Insert/edit media' icon in the WYSIWYG Editor.
- Paste the file’s URL into the Source box. Enter only this information.
- Do not remove, add, or change any other information on any other tabs. The CMS is configured to format the video automatically upon saving and publishing. Any modification could cause the design of the templates to break. You can use either the full YouTube URL from the address bar of your browser or the “Share” URL.
- Click Save.
- Choose 'right' or 'left' from the 'Embed Alignment' dropdown.
Text and Image
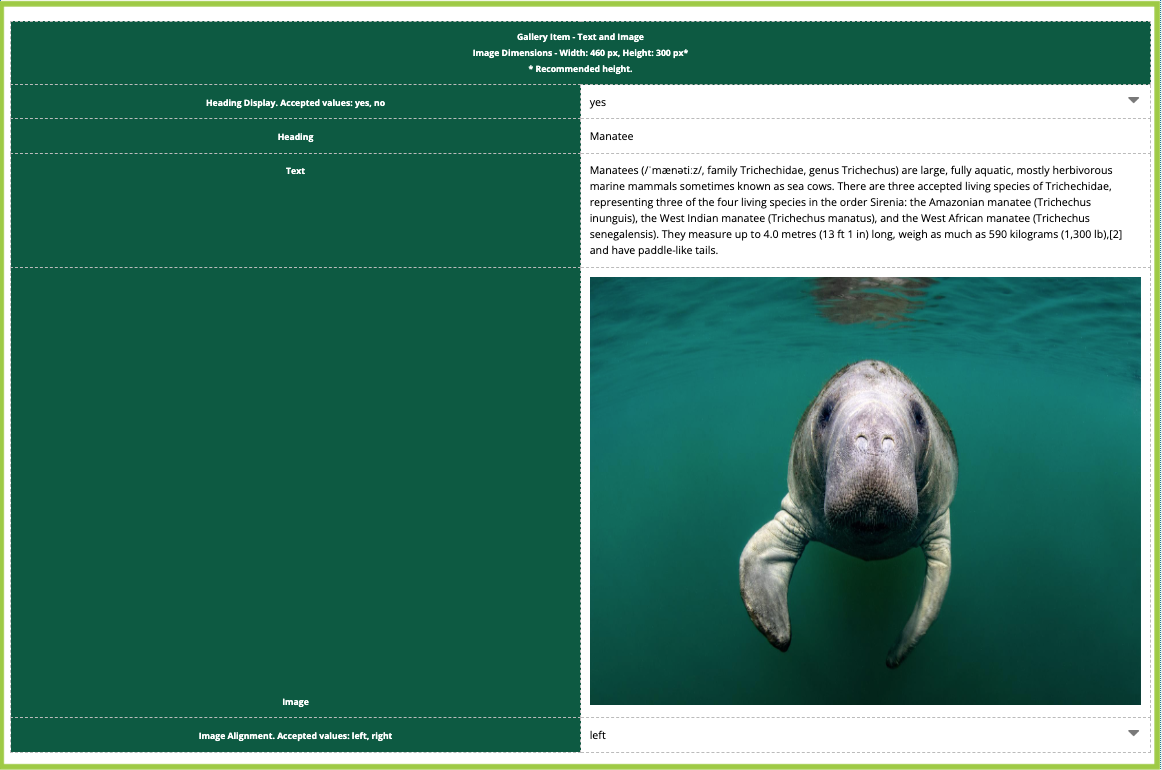
Editing view of Gallery Item - Text and Image Snippet.
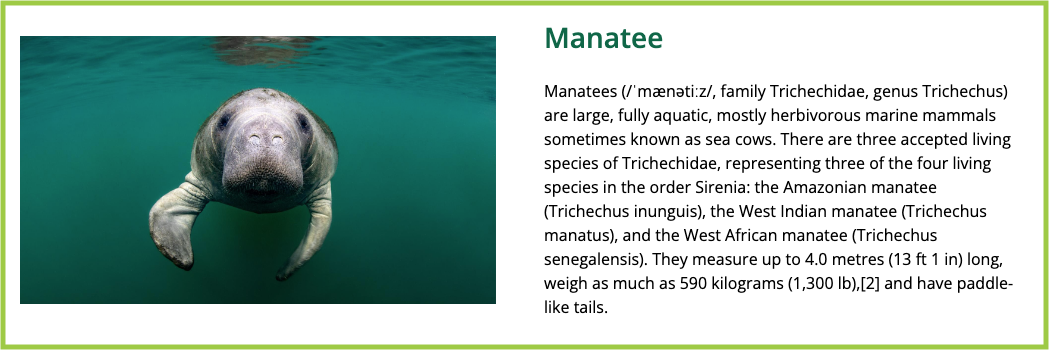
Preview of Gallery Item - Text and Image Snippet.
The Gallery Item - Text and Image Snippet includes a Heading (displayed or hidden), Text, and Image (left or right aligned), displayed as one cohesive section. The Embed can be a Youtube video, Soundcloud podcast episode, etc.
After you've inserted a Gallery Item - Text and Image Snippet:
- Choose 'yes' or 'no' from the 'Heading Display' dropdown.
- Type in or paste your Heading in the 'Heading' field.
- Type in or paste your Text in the 'Text' field.
- Click the gray box in the Snippet, which highlights the "Insert/edit image" icon on the WYSIWYG Editor.
- Using the folder structure, navigate to the image you'd like to add to the page (in the site's "images" folder).
- Click Insert.
- Add alt text to the 'Alternative description' field.
- Click Save.
- Choose 'right' or 'left' from the 'Image Alignment' dropdown.
Video
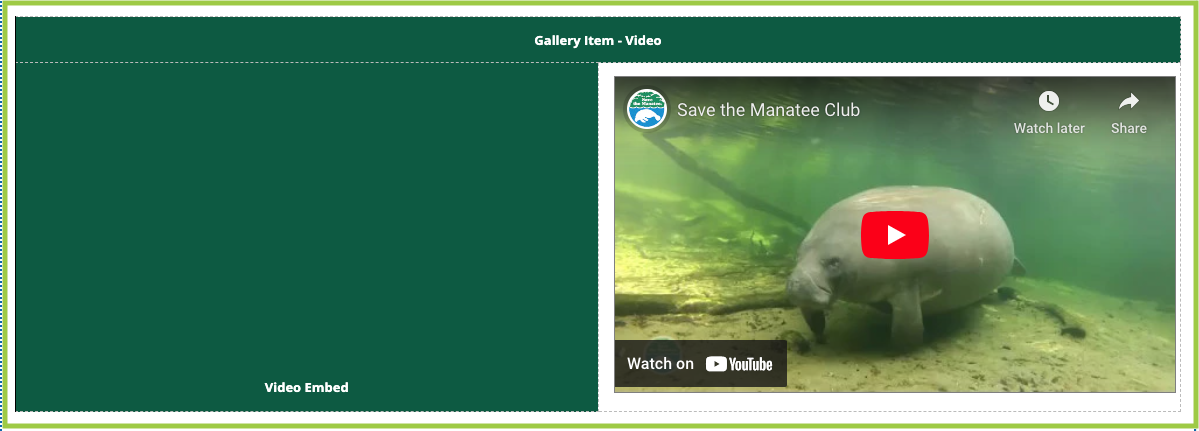
Editing view of Video Snippet.
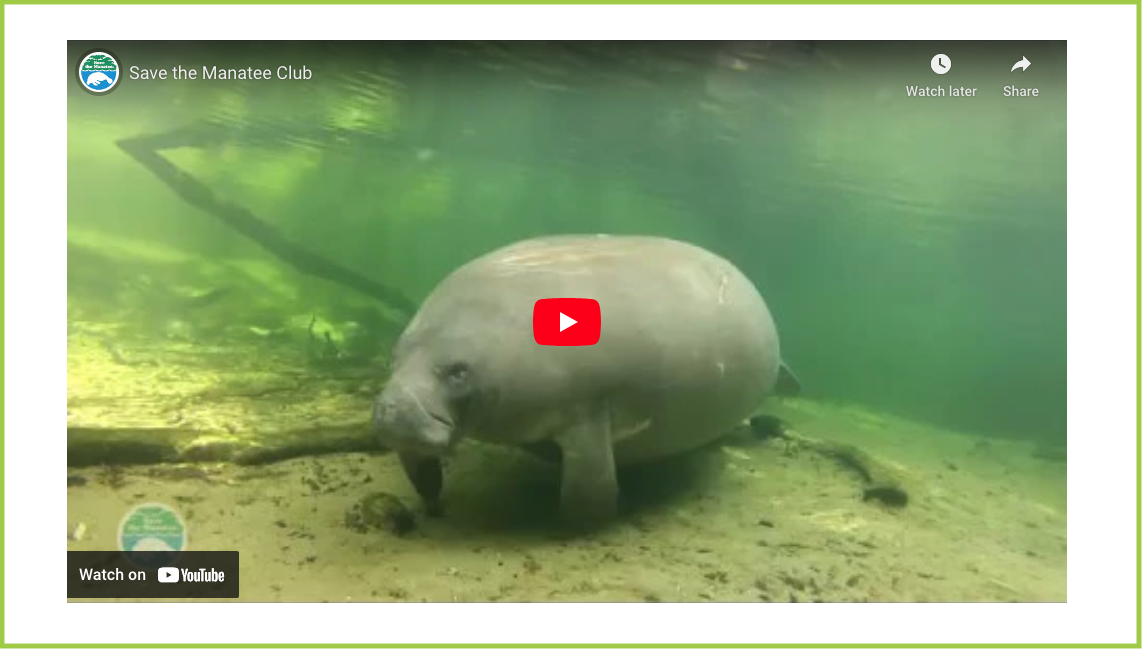
Preview of Video Snippet.
After you've inserted a Video Snippet:
- Click the gray box in the Snippet, which highlights the "Insert/edit media" icon on the WYSIWYG Editor.
- Paste the YouTube URL into the Source box.
- Enter only this information.Do not remove, add, or change any other information on any other tabs. The CMS is configured to format the video automatically upon saving and publishing. Any modification could cause the design of the templates to break. You can use either the full YouTube URL from the address bar of your browser or the “Share” URL.
- Click Save.