General Website Info
Gadgets
Gadgets are an additional resource within the CMS available to users. Some gadgets once activated will appear on the dashboard, while others are context-specific, meaning they only appear when they are in a situation where they can be used. For example, the Images Gadget only appears when you are editing a page and can insert an image.
To activate the gadgets you would like to use, click on the "show gadget" icon located on the top right.
![]()
Once the icon has been selected, a right navigation will display revealing all the active gadgets. Selecting the gear button will display a popup with all the possible available gadgets.
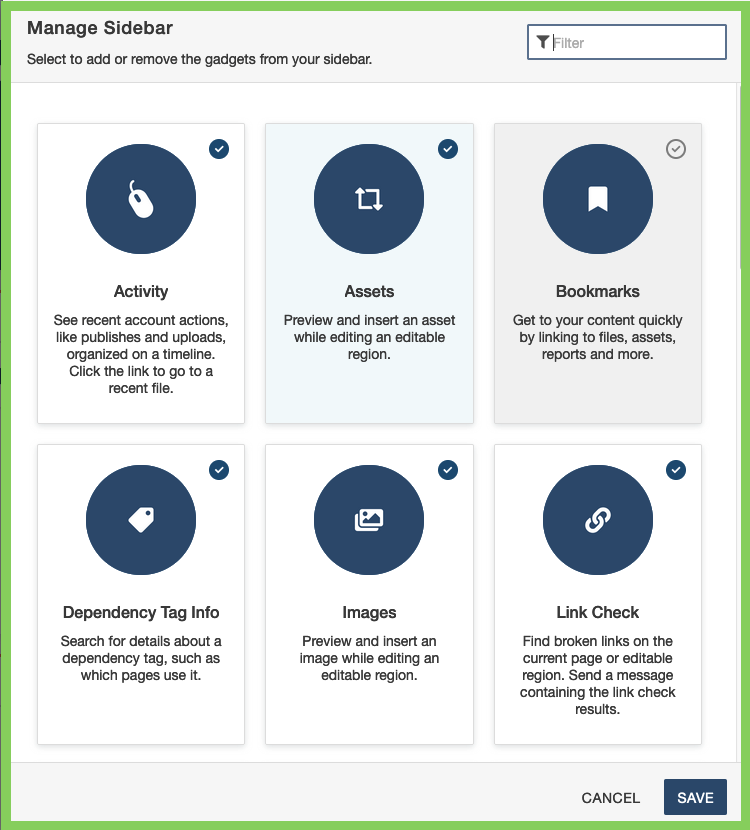
Choose the gadgets you would like choose and click save. Below are more details regarding all gadget options and how to use each.
Dashboard Gadgets
Activity
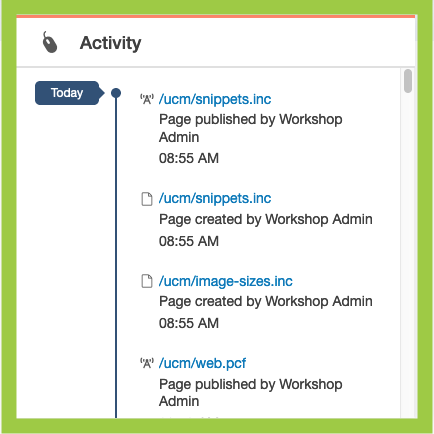
Users can see recent account actions, like publishes and uploads, organized on a timeline.
Users can click on a timeline item to go to the recent file.
Bookmarks
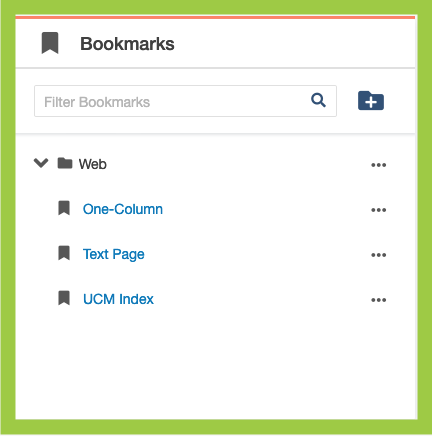
Users can get to their content quickly by "bookmarking" (pinning) files, assets, reports,
and more.
Inbox
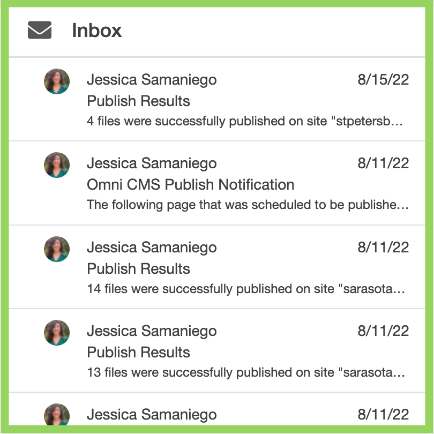
The Inbox Gadget is shown on the Dashboard and includes how many new messages are in the inbox.
Users can also access the Inbox by clicking on Dashboard at the top of the toolbar, then clicking Inbox. The Inbox list view displays messages from other users as well as automated messages associated with scheduled actions, such as a notification of scheduled publish or notification of page expiration. The Inbox includes a linked list of inbox and sent messages and the functionality to compose a message.
My Checked-Out Content
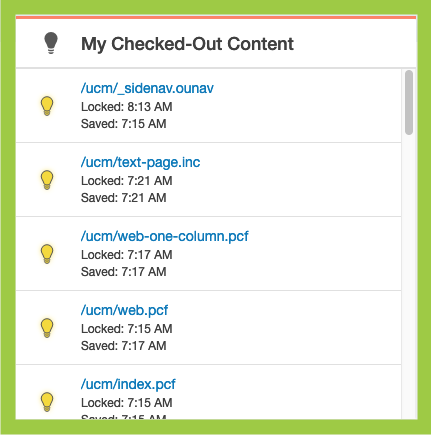
Users can view their checked-out content and check content back in by clicking the
lightbulb icon. This also includes scheduled publishings.
Workflow
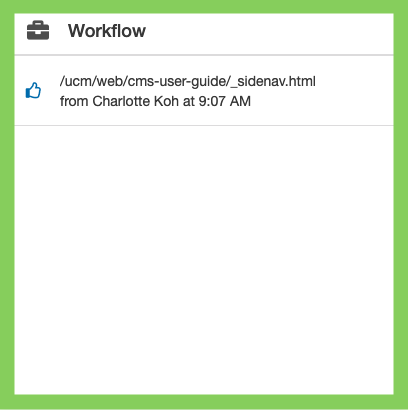
Users can see items in their Workflow, like pending approvals, and send messages to Workflow participants.
Users can also access Workflow by clicking on Dashboard at the top of the toolbar, then clicking Workflow. The Workflow list view shows content that is waiting for your approval or content you have sent for approval and are separate from other messages, which can be viewed in the Inbox and Sent. Content within an approvals process can be tracked using this screen. You can also see archived items from this screen.
Recently Visited
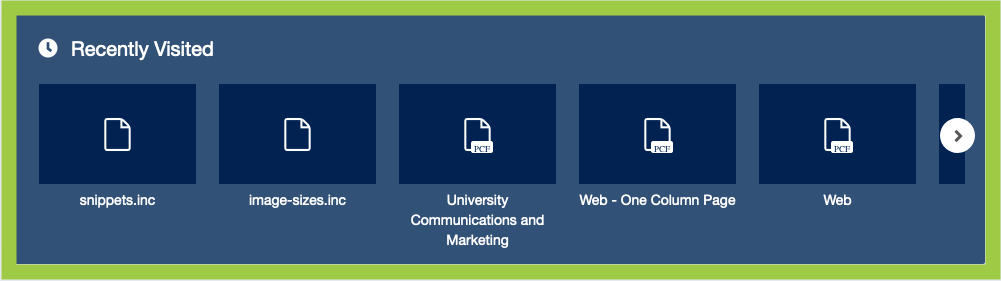
By default, all users have Recently Visited displayed. Users can see an overview of the files they most recently viewed or edited.
Context-Specific Gadgets (appear on the sidebar)
Page Parameters
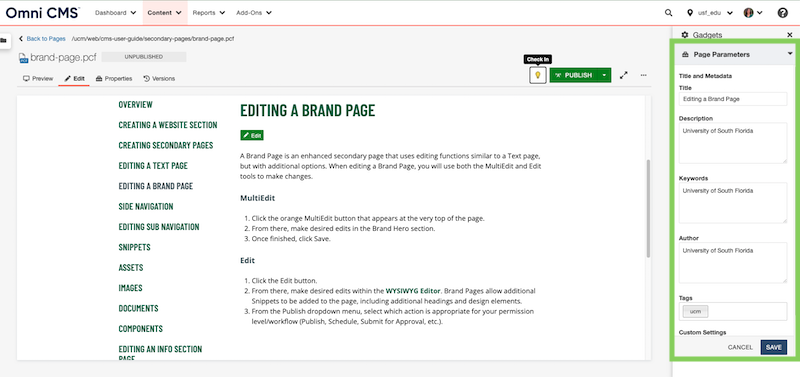
The page parameters gadget provides quick access to the parameters of the page. Once activated (page must be checked out) it will display the page's title, metadata and custom settings for the specific page you are viewing.
Edit page parameters, as follows:
- View and check out a page.
- Click Show Gadgets to open sidebar.
- Click to expand Page Parameters Gadget.
- Edit page parameters.
- Click Save.
Dependency Tag Info
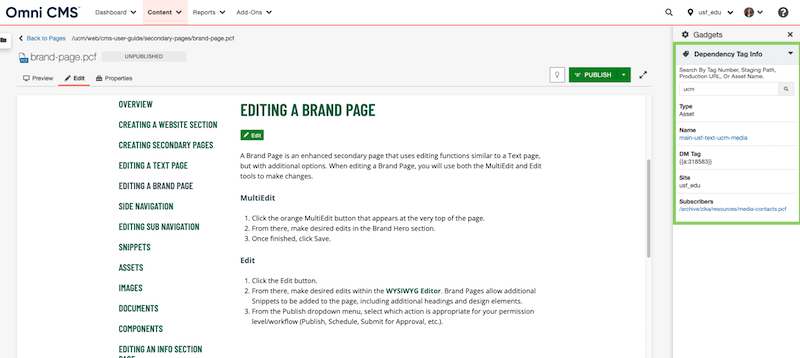
The Dependency Tag Info gadget allows you to search for details about a dependency tag, staging path, production URL or Asset Name, such as which pages use it.
Find details about a dependency tag, as follows:
- Click Show Gadgets to open sidebar.
- Click to expand Dependency Tag Info Gadget.
- Enter the dependency tag number, the file path on the staging server, the live website URL, or the name of the asset.
- Press Enter.
Dependency Tag: Search for assets, pages, files, and folders by using a dependency tag. The {{curly braces}} are not necessary. If you search for a tag just by number (for example 1812 rather than f:1812) then all four types of dependency tag are searched.
Staging Path: Search for files, pages, and folders by using the location of the file (for example /arts/theater/schedule.pcf). Typing in a partial file name returns all results that match the partial name. If you view a folder while searching, the gadget only returns results that exist inside that folder.
Production URL: Search for files, pages, and folders by using the live website URL of the content. The results show the type of file, its name, its location in Omni CMS, the site it belongs to, and any pages that link to it.
Asset Name: Search for assets by typing all or part of the asset name. The results show the type of file (in this case, asset), the full name of the asset, the asset dependency tag, the site where the asset was created, and any pages that the asset is placed on.
Quick Publish
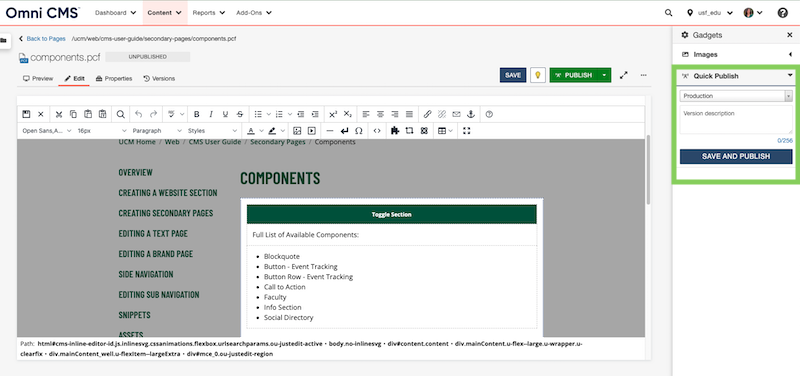
Publish (or submit) the page or asset you're editing in one click with the Quick Publish Gadget. The Quick Publish Gadget bypasses final check, even if the check is enforced for the page.
Publish (or submit) a page or asset with one click, as follows:
- While editing an editable region, click Show Gadgets to open sidebar.
- Click to expand Quick Publish Gadget.
- Type a version description.
- Click Save and Publish. If an approver is enforced for the page, click Save and Submit.
Note: Using Quick Publish will bypass the final check of the page, which provides spelling errors, accessibility and link checks. Quick Publish is a useful tool when making minor page edits, however if you are creating a new page or adding new content it is best to follow a normal publish that will include the final check feature.
Snippets
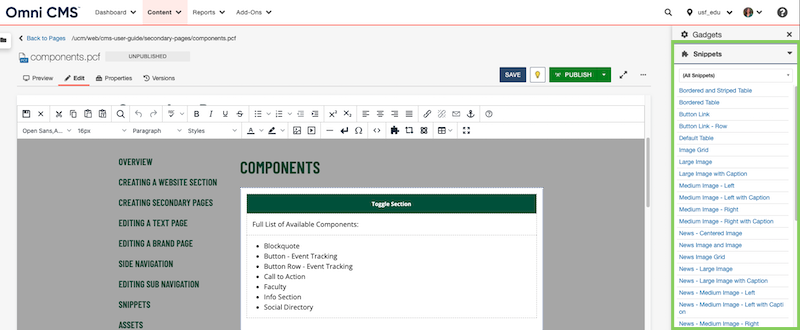
Preview and insert a snippet into a page you are editing with the snippets gadget.
Preview and insert a snippet, as follows:
- While editing an editable region, click Show Gadgets to open sidebar.
- Click to expand Snippets Gadget.
- Click the "Snippets" dropdown to filter available snippets.
- To insert the snippet, double-click the snippet name. You can also drag the snippet to the editable region.
- To see a preview, click the snippet name.
- To see the styled snippet, click View Rendered.
- Click Insert.
Assets
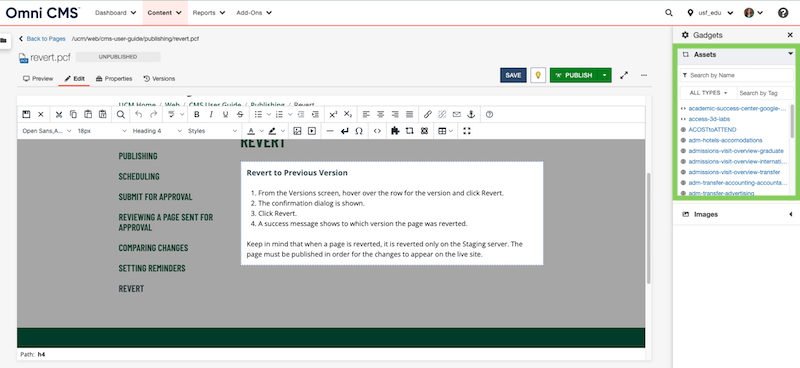
Preview and insert assets on a page you are editing with the Assets Gadget.
Preview and insert an asset, as follows:
- While editing an editable region, click Show Gadgets to open sidebar.
- Click to expand Assets Gadget.
- Type to search by name or tag or click the "Types" dropdown to filter available assets.
- To see a preview, click the assset name. Click Insert.
- To insert the asset, double-click the asset name. You can also drag the asset to the editable region.
Notes
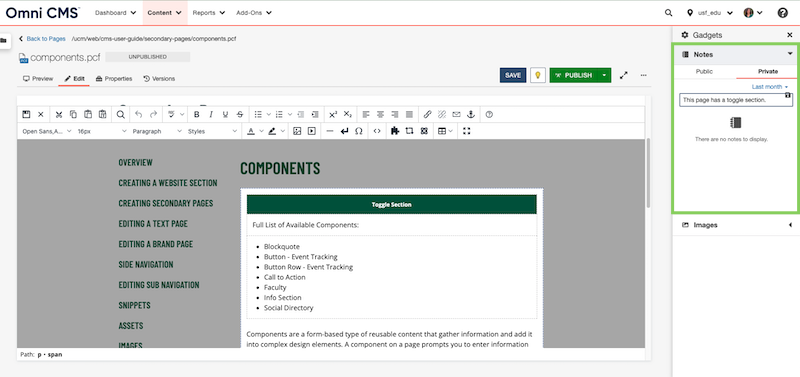
Write public and private notes on a page, file, or asset with the Notes Gadget. Public notes are visible to anyone who views the page, file, or asset, while private notes are only visible to you.
Write a note, as follows:
- While viewing a page, file, or asset, click Show Gadgets to open sidebar.
- Click to expand Notes Gadget.
- Type your note.
- Click the "Private" tab to type a note that only you can see.
- Click Save.
View a note, as follows:
- While viewing a page, file, or asset, click Show Gadgets to open sidebar.
- Click to expand Notes Gadget.
Edit your own note, as follows:
- While viewing a page, file, or asset, click Show Gadgets to open sidebar.
- Click to expand Notes Gadget.
- Click the edit icon for a note.
- Type to edit note.
- Click Save.
Workflow
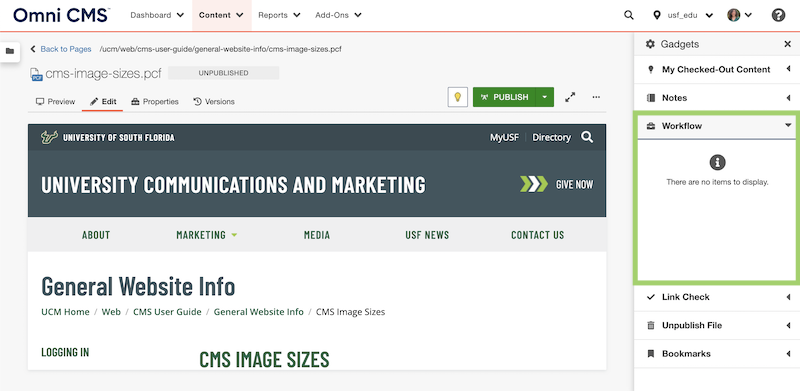
See all items in your workflow and send messages to workflow participants with the workflow Gadget.
See your workflow, as follows:
- Click Show Gadgets to open sidebar.
- Click to expand Workflow Gadget.
- Click the item to see message history. Type in the "Reply" field to send messages to participants in the workflow. Click the "Reply to Group" dropdown to select one or all recipients.
- Click Send Reply.
- Click the item name to see the item.
- Click Back to return to item list.
Link Check
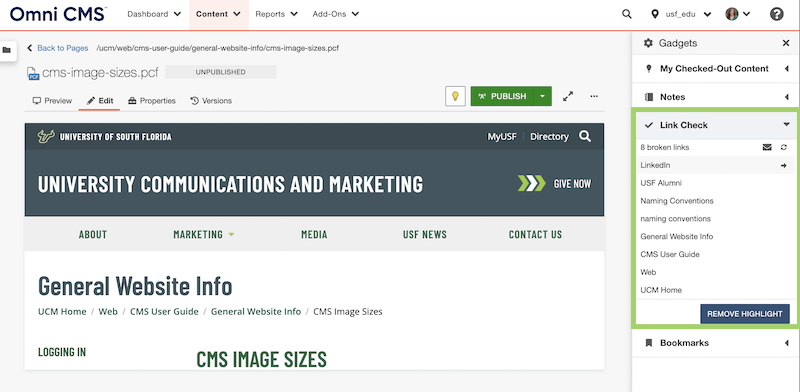
Find broken links on a page and send a message containing the results with Link Check Gadget.
Find broken links, as follows:
- While viewing a page, click Show Gadgets to open sidebar.
- To check all links on a page, including headers and side navigation, view the page in Preview or Edit.
- To check links only in the region you are editing, open an editable region.
- Click to expand Link Check Gadget.
- Click Find Broken Links to search the page for broken links.
- Broken links are highlighted on the page and listed in the gadget. You are also able to remove the highlights by clicking the remove highlight button.
- In the gadget, click a broken link to see where it links and the error status.
- Click the envelope if you would like to send a message containing the link check results.
- Click Refresh to run the check again.