Default & Enhanced Homepage
Enhanced Homepage: Index - MultiEdit Content
Recorded Workshop
Learn more about the components of an Enhanced Homepage and how to edit each section in the “Enhanced Homepage” workshop.
Overview
Index - MultiEdit is where you will complete the majority of your Enhanced Homepage content edits.
MultiEdit can be accessed once a file is checked out (lightbulb icon is illuminated) by clicking:
- "Edit", then "MultiEdit" on the left side navigation.
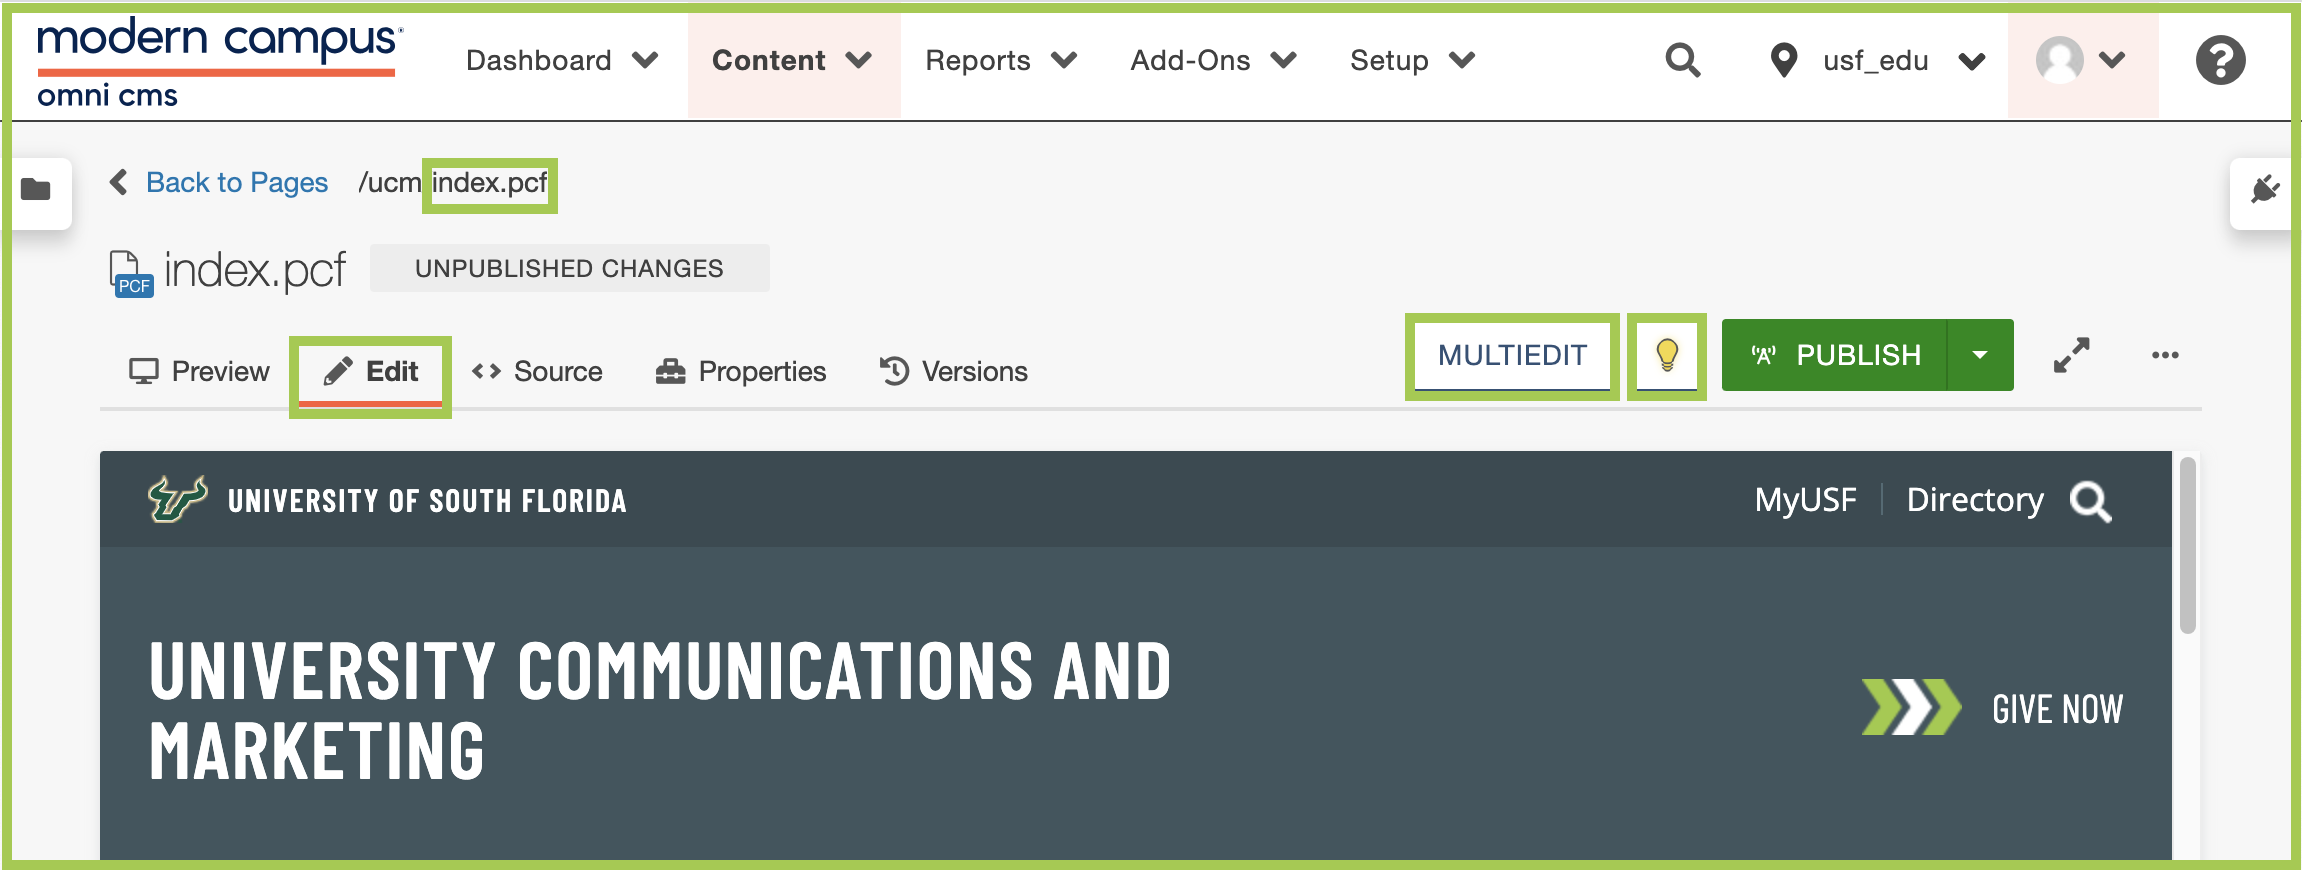
- "Properties", then "MultiEdit" on the left side navigation.
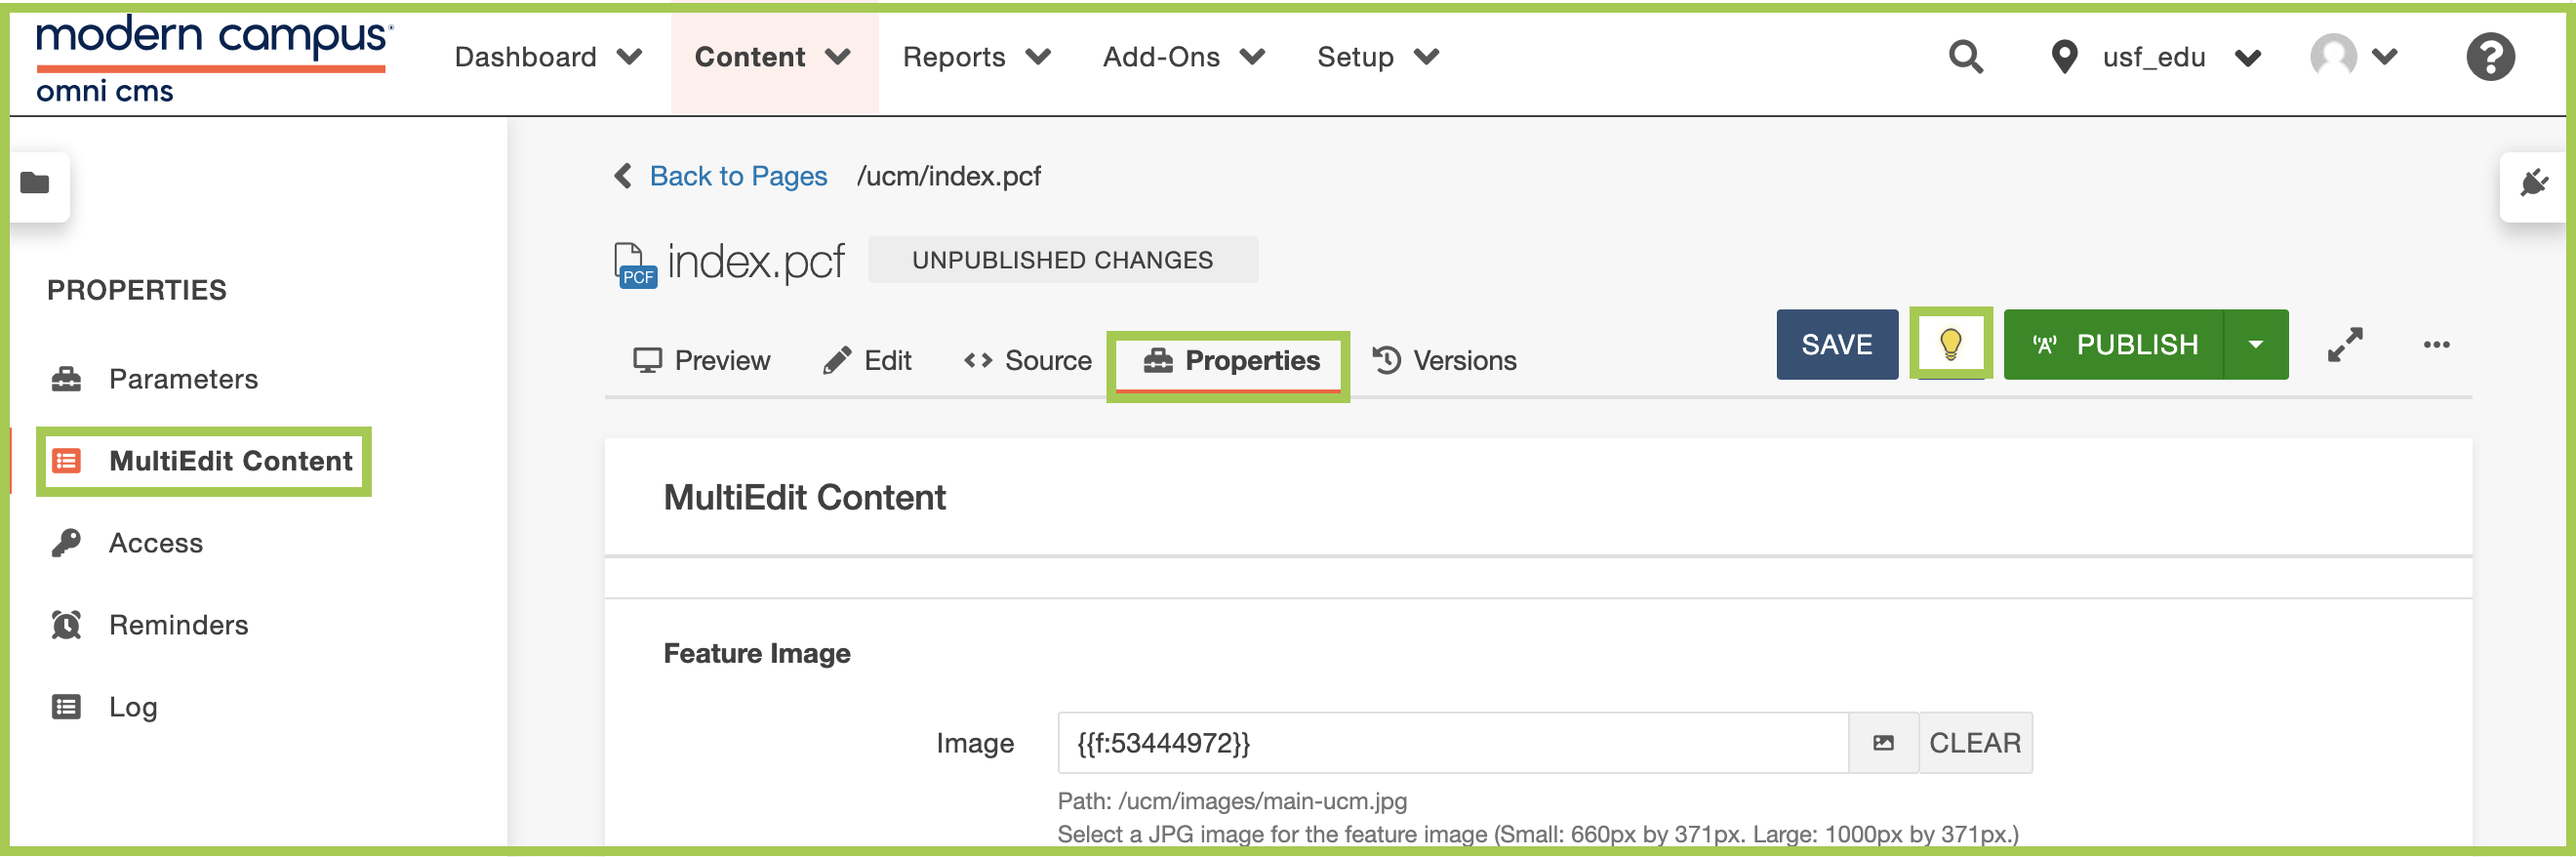
Once in MultiEdit, you can link to the widgets you would like displayed in the Widget Region(s), add image(s), text content, and link(s) for Highlighted Content Section(s), and add image(s) for Full-Width Image Section(s) to bring your homepage to life.
Tip: Prior to entering content in the MultiEdit section, be sure to have your images sized and ready for upload.
Based on your selections in Index - Parameters, you will then update the content for that section:
Hero Image
Hero image
- In "Image - Small", click the document icon (“Select Image”).
- Using the Dependency Manager, navigate to the image you want displayed as the Hero Image (Image - Small).
- Add an Image Description in the text field.
- Repeat Steps 1-3 for Hero Image (Image - Large).
- Image - Small and Image - Large should be the same image, sized accordingly, with the same Image Description.
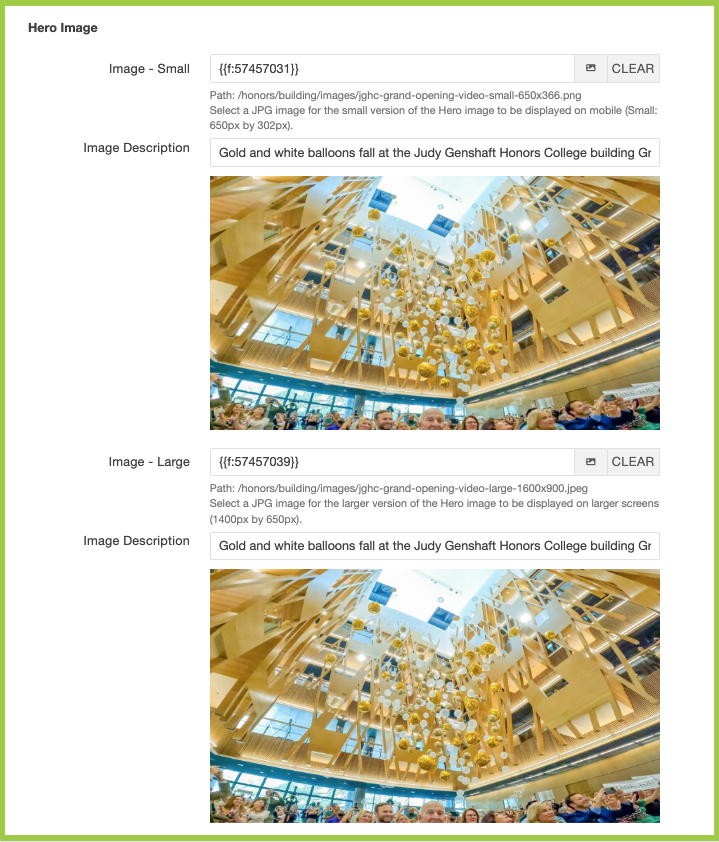
Hero Image - Link*
Hero Image - Link includes a Hero Image's optional Link URL.
- Using the "Select if Hero should be linked" drop-down menu, select "Yes" or "No".
- Yes = Hero Image will be linked.
- No = Hero Image will not be linked.
- In "Link URL", click the document icon (“Choose File”).
- Using the Dependency Manager, navigate to the file you want displayed as the Hero Image - Link.
- Using the "Open Link in New Tab?" drop-down menu, select "Yes" or "No".
- Yes = open link in new tab (browser window)
- Choose this option when opening a file that lives outside Modern Campus CMS ("external" link).
- No = open link in same tab (browser window)
- Choose this option when opening a file that lives inside Modern Campus CMS ("internal" link).
- Yes = open link in new tab (browser window)
*If applicable.
Hero Image - Content*
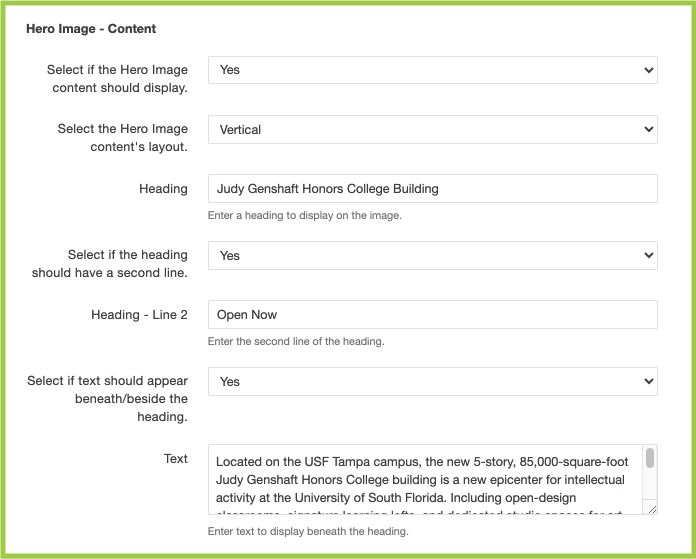
Hero Image - Content includes a Hero Image's optional Heading (Line 1 and/or 2) and/or text content.
- Using the "Select if Hero Image content should display." drop-down menu, select "Yes"
or "No".
- Yes = Hero Image - Content displays as an overlay on top of the Hero Image.
- No = Hero Image - Content does not display.
- Using the "Select the Hero Image content's layout." drop-down menu, select "Vertical"
or "Horizontal".
- Vertical = Hero Image - Content displays vertically across the Hero Image.
- Horizontal = Hero Image - Content displays horizontally across the Hero Image.
- Use the text field to add a Heading.
- Using the "Select if the heading should have a second line." drop-down menu, select
"Yes" or "No".
- Yes = Hero Image - Content displays a second Heading (- Line 2).
- Yes = Hero Image - Content does not display a second Heading (- Line 2).
- If "Yes" was selected for "Select if the heading should have a second line.", use the text field to add a second Heading (- Line 2).
- Using the "Select if text should appear beneath/beside the heading." drop-down menu,
select "Yes" or "No".
- Yes = Hero Image - Content text displays beneath the Heading and/or Heading - Line 2.
- No = Hero Image - Content text does not display.
- If "Yes" was selected for "Select if text should appear beneath/beside the heading.", use the Text field to add content.
*If applicable.
Hero Video
Hero Video
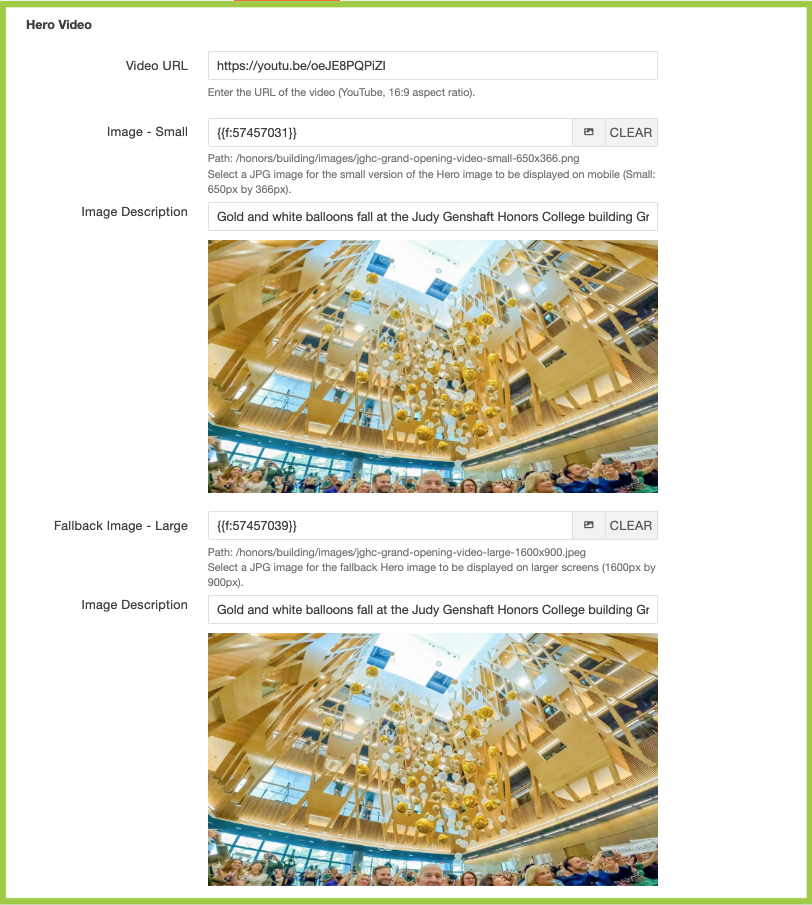
- Paste the YouTube Video URL in the text field.
- A Hero Video selection requires a small image (for mobile) and large fallback image (if the video fails to load).
- Click the document icon (“Select Image”).
- Using the Dependency Manager, navigate to the image you want displayed as the Hero Video (Image - Small).
- Add an Image Description in the text field.
- Repeat the same steps for Hero Video (Fallback Image - Large).
- Image - Small and Fallback Image - Large should be the same image, sized accordingly, with the same Image Description.
Hero Video - Link*
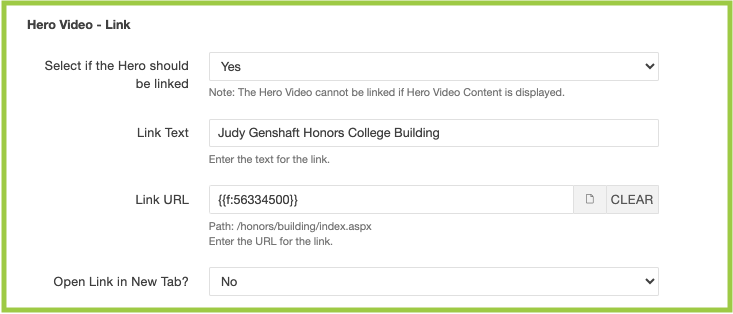
Hero Video - Link allows a Hero Video to be linked to an internal or external URL.
- Using the "Select if the Hero should be linked" drop-down menu, select "Yes" or "No".
- Yes = Hero Video will be linked.
- No = Hero Video will not be linked.
- If "Yes" was selected for "Select if the Hero should be linked", use the Link Text field to add content.
- If "Yes" was selected for "Select if the Hero should be linked", click the document icon (“Choose File”).
- If the URL lives inside Modern Campus CMS ("internal" link), use the Dependency Manager
to navigate to the file you want linked in the Hero Video.
- If the URL lives outside Modern Campus CMS ("external" link), paste the URL in the Link URL field.
- Using the "Open Link in New Tab?" drop-down menu, select "Yes" or "No".
- Yes = open link in new tab (browser window)
- Choose this option when opening a file that lives outside Modern Campus CMS ("external" link).
- No = open link in same tab (browser window)
- Choose this option when opening a file that lives inside Modern Campus CMS ("internal" link).
- Yes = open link in new tab (browser window)
*If applicable.
Hero Video - Content*
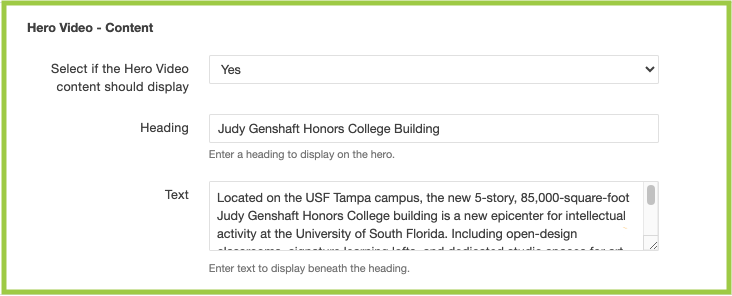
Hero Image - Content includes a Hero Video's optional Heading and/or text content.
- Using the "Select if Hero Video content should display" drop-down menu, select "Yes"
or "No".
- Yes = Hero Image - Content displays as an overlay on top of the Hero Video.
- No = Hero Image - Content does not display.
- Use the text field to add a Heading.
- Use the Text field to add text content.
*If applicable.
Hero Video - Content - Call to Action Link 1 and 2*
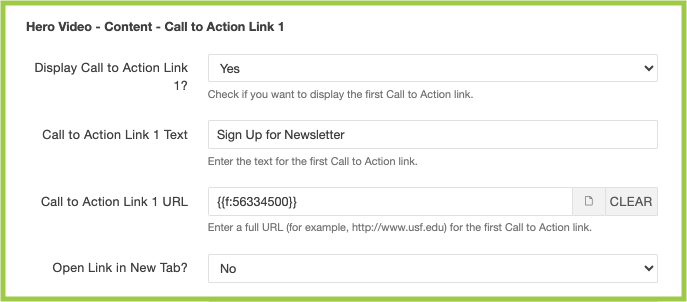
Hero Video - Content - Call to Action includes a Hero Video's optional Call to Action Link 1 (and 2).
- Using the "Display Call to Action Link 1?" drop-down menu, select "Yes" or "No".
- Yes = Hero Video - Content - Call to Action Link 1 displays as an overlay on top of the Hero Video.
- No = Hero Video - Content - Call to Action Link 1 does not display.
- Use the text field to add Call to Action Link 1 Text.
- If "Yes" was selected for "Display Call to Action Link 1?", click the document icon (“Choose File”).
- Use the Dependency Manager to navigate to the file you want linked in the Call to Action Link 1.
- Using the "Open Link in New Tab?" drop-down menu, select "Yes" or "No".
- Yes = open link in new tab (browser window)
- Choose this option when opening a file that lives outside Modern Campus CMS ("external" link).
- No = open link in same tab (browser window)
- Choose this option when opening a file that lives inside Modern Campus CMS ("internal" link).
- Yes = open link in new tab (browser window)
- Repeat Steps 1-5 for Call to Action Link 2 (if applicable).
*If applicable.
Highlighted Content Section 1 and 2*
Highlighted Content Section 1 and 2*
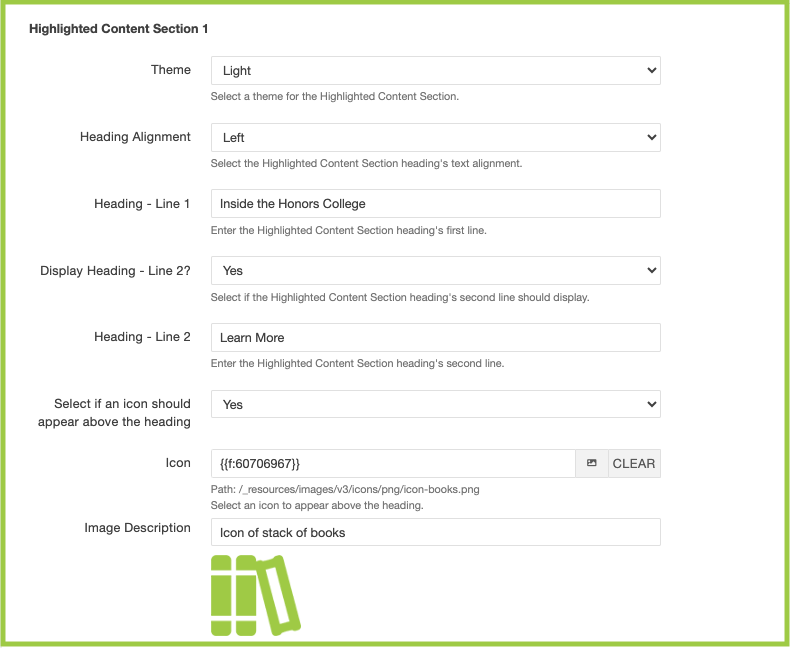
- Using the "Theme" drop-down menu, select "Default", "Light", or "Dark".
- This will determine the theme (colors) for Highlighted Content Section 1.
- Using the "Heading Alignment" drop-down menu, select "Left" or "Center".
- Left = Heading - Line 1 (and Heading - Line 2) will be left-justified.
- Center = Heading - Line 1 (and Heading - Line 2) will be centered.
- Use the text field to add Heading - Line 1.
- Using the "Display Heading - Line 2?" drop-down menu, select "Yes" or "No".
- Yes = Display Heading - Line 2 displays below Heading - Line 1.
- No = Display Heading - Line 2 does not display.
- If "Yes" was selected for "Display Heading - Line 2?", use the text field to add Heading - Line 2.
- Using the "Select if an icon should appear above the heading?" drop-down menu, select
"Yes" or "No".
- Yes = Selected icon will display above Heading - Line 1.
- No = Selected icon will not display.
- Click the document icon (“Select Image”).
- Using the Dependency Manager, navigate to the icon image you want displayed above Heading - Line 1.
- Add an Image Description in the text field (describing the selected icon).
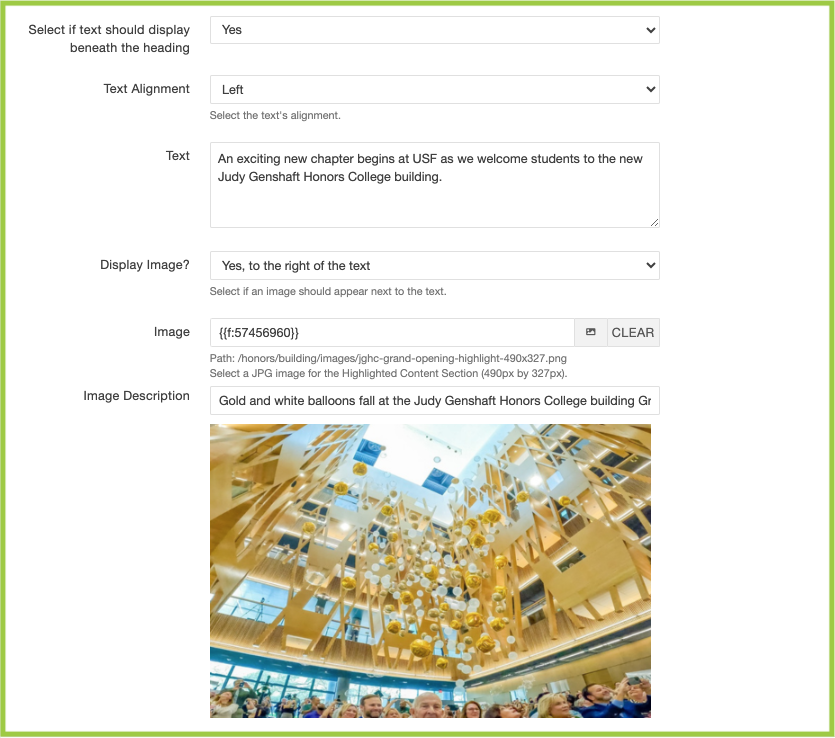
- Using the "Select if text should display beneath the heading" drop-down menu, select
"Yes" or "No".
- Yes = Text content displays beneath Heading - Line 1 (or Heading Line - 2, if displayed).
- No = Text content does not display.
- Using the "Display Image?" drop-down menu, select "Yes, to the right of the text",
"Yes, to the left of the text", or "No".
- Yes, to the right of the text = Image will display to the right of the text content.
- Yes, to the left of the text = Image will display to the left of the text content.
- No = Image will not display.
- Add an Image Description in the text field.
- Repeat Steps 1-12 for Highlighted Content Section 2 (if applicable).
*If applicable.
Highlighted Content Section 1 and 2 - Link*
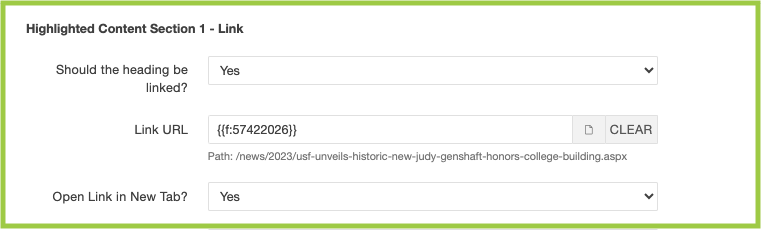
- Using the "Should the heading be linked?" drop-down menu, select "Yes" or "No".
- Yes = Heading - Line 1 will be linked.
- No = Heading - Line 1 will not be linked.
- If the URL lives inside Modern Campus CMS ("internal" link), click the document icon
(“Choose File”) and use the Dependency Manager to navigate to the file you want linked
in Highlighted Content Section 1 - Link.
- If the URL lives outside Modern Campus CMS ("external" link), paste the URL in the Link URL field.
- Using the "Open Link in New Tab?" drop-down menu, select "Yes" or "No".
- Yes = open link in new tab (browser window)
- Choose this option when opening a file that lives outside Modern Campus CMS ("external" link).
- No = open link in same tab (browser window)
- Choose this option when opening a file that lives inside Modern Campus CMS ("internal" link).
- Yes = open link in new tab (browser window)
- Repeat Steps 1-3 for Highlighted Content Section 2 - Link (if applicable).
*If applicable.
Highlighted Content Section 1 and 2 - Additional Link*
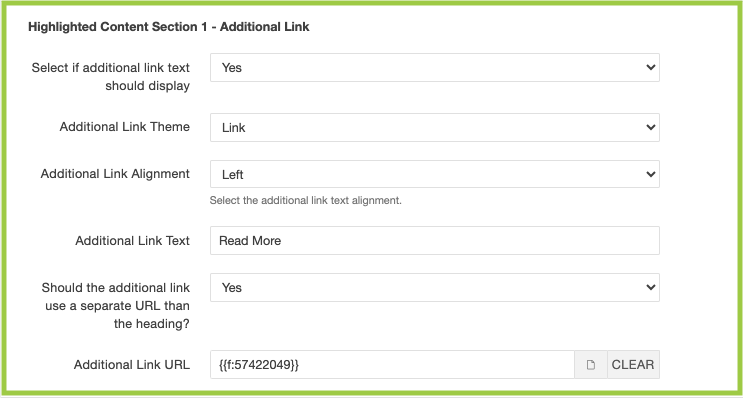
- Using the "Select if additional link text should display?" drop-down menu, select
"Yes" or "No".
- Yes = Additional link will display.
- No = Additional link will not display.
- Using the "Additional Link Theme?" drop-down menu, select "Link" or "Button".
- Link = Additional link will display as a hyperlink + arrow (animated).
- No = Additional link will as a button.
- Using the "Additional Link Alignment" drop-down menu, select "Left" or "Center".
- Left = Additional Link will be left-justified.
- Center = Additional Link will be centered.
- Use the text field to add Additional Link Text.
- Using the "Should the additional link use a separate URL than the heading?" drop-down
menu, select "Yes" or "No".
- Yes = Additional link will display as a separate URL.
- No = Additional link will display as same URL as selected Highlighted Content Section 1 - Link.
- If the URL lives inside Modern Campus CMS ("internal" link), click the document icon
(“Choose File”) and use the Dependency Manager to navigate to the file you want linked
in Highlighted Content Section 1 - Additional Link.
- If the URL lives outside Modern Campus CMS ("external" link), paste the URL in the Link URL field.
- Repeat Steps 1-6 for Highlighted Content Section 2 - Additional Link (if applicable).
*If applicable.
Full-Width Image Section 1 and 2*
Full-Width Image Section 1 and 2*
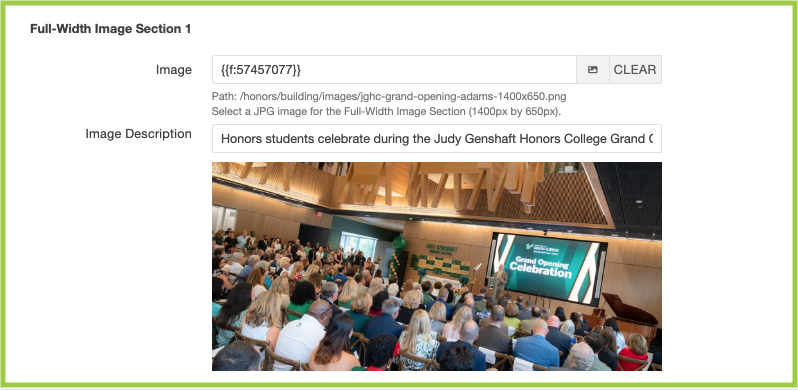
- Click the document icon (“Select Image”).
- Using the Dependency Manager, navigate to the image you want displayed as a Full-Width Image.
- Add an Image Description in the text field.
- Repeat Steps 1-3 for Full-Width Image Section 2 (if applicable).
*If applicable.