Text Pages
Snippets
Recorded Workshop
Learn more about the different options and unique functionalities of Snippets in the “Snippets” workshop.
Overview
Snippets are blocks of content created and maintained by UCM to allow the use of special design elements on a Gallery or Text page.
INSERT A SNIPPET
- Click the puzzle piece icon in the WYSIWYG Editor.
- Use the "Filter by name" field to type the name of the Snippet you would like to use or scroll through the list of all available Snippets.
- Choose the Snippet you would like to use.
- Click "Insert".
Text Page Snippet Options
Buttons
Button - Left
Button(s) - Centered
After you've inserted a Button Snippet:
- Change the text to what you want the Button Snippet to read.
- Highlight the text, then click the Link icon to add the link.
- Navigate to the page/file you'd like to link to or insert an external link.
- Click Insert.
- Save your changes.
- Click Publish.
Images
All images placed on a web page must be placed within an image snippet. Images must be resized to fit the proper dimensions of an Image Snippet.
Image Snippets
After you've prepared and uploaded your image(s) and inserted an Image Snippet:
- Click the gray box in the Snippet, which highlights the "Insert/edit image" icon on
the WYSIWYG Editor.
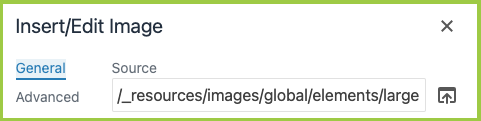
- Click into the Source field and clear out any default content.
Then click on the Dependency Manager and navigate to the image you'd like to add to the page. It should automatically place you within the site's "images" folder. Click "Insert".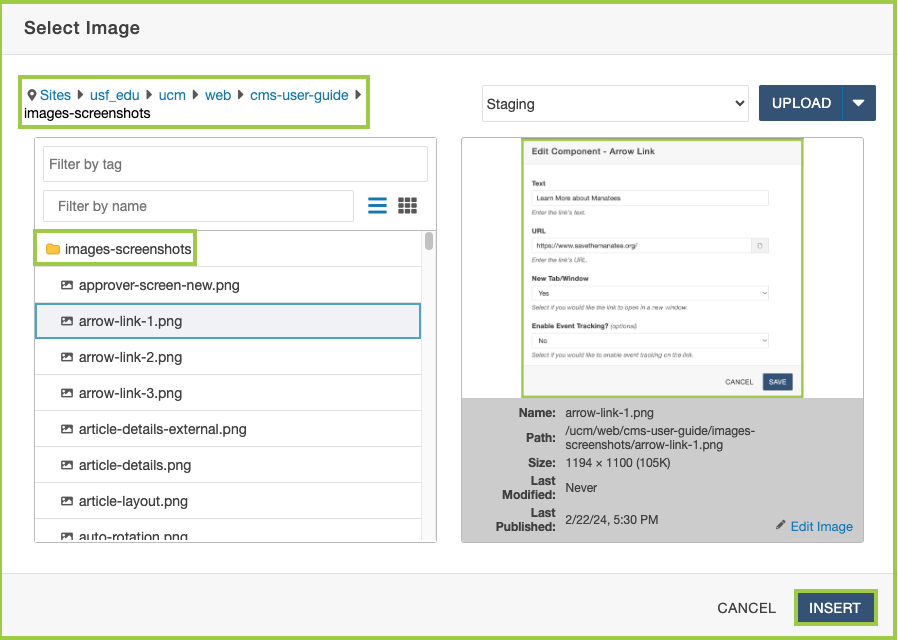
Once inserted, the Dependency Tag will display in the Source field.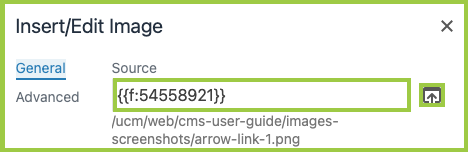
- Add an Alternative description for the image.

- (Ignore "Image title", "Width", "Height", "Class", "Custom Class", and "ID".) Click "Save".
- Publish your changes to Test and/or Production.
Image with Caption Snippets
Image with Caption Snippets operate the same as Image Snippets, but allow for a caption underneath the image.
After you've prepared and uploaded your image(s) and inserted an Image with Caption Snippet:
- Follow Steps 1-4 above (Image Snippets section).
- Add the caption in the "Enter Caption here." field.
- Click "Save".
- Publish your changes to Test and/or Production.
Image Grid Snippets
Image Grids are used to add multiple images (and/or text) in a row on a web page.
After you've prepared and uploaded your image(s) and inserted an Image Grid Snippet:
- In the "Number of Images in a Row" section, choose two, three, or four.
- Follow Steps 1-4 above (Image Snippets section).
- Repeat until you have added all images to the Image Grid.
-
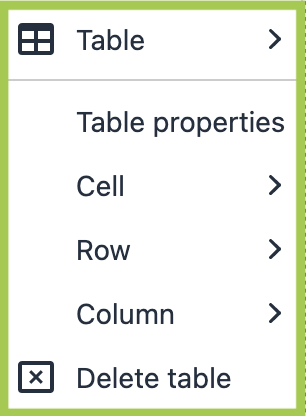
To add or delete rows or columns, or to delete the table entirely, right click on the Table and choose which option you'd like to add (i.e. Row > Insert Row Before). You can also make changes to the cells themselves or choose Table Properties to make other adjustments.
-
You can also use the pop-up toolbar and click on the appropriate icon to execute the task.

- Save your changes.
- Click Publish.
Image - Small - Left
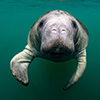
Image - Small - Left with Caption
Manatees are large, fully aquatic, herbivorous marine mammals sometimes known as sea cows.
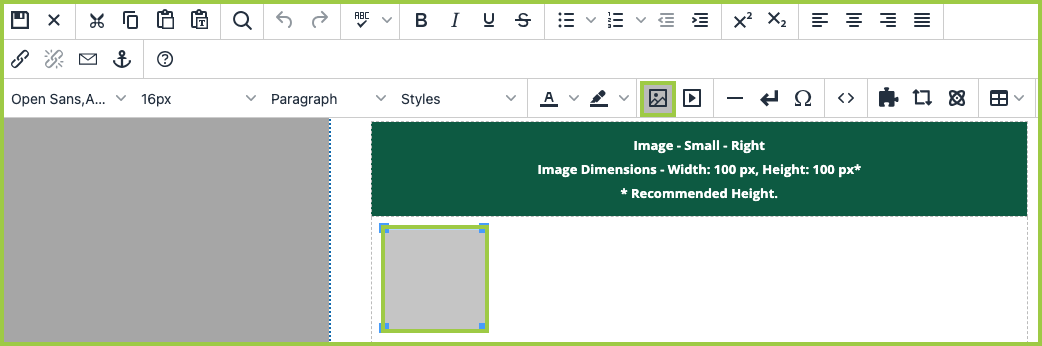
Image - Small - Right
Image - Small - Right with Caption
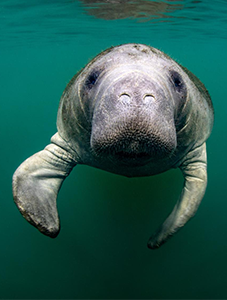
Manatees are large, fully aquatic, herbivorous marine mammals sometimes known as sea cows.
Image - Medium - Left
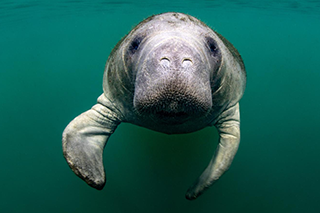
Image - Medium - Left with Caption
Manatees are large, fully aquatic, herbivorous marine mammals sometimes known as sea cows.
Image - Medium - Right
Image - Medium Right with Caption
Manatees are large, fully aquatic, herbivorous marine mammals sometimes known as sea cows.
Image - Large
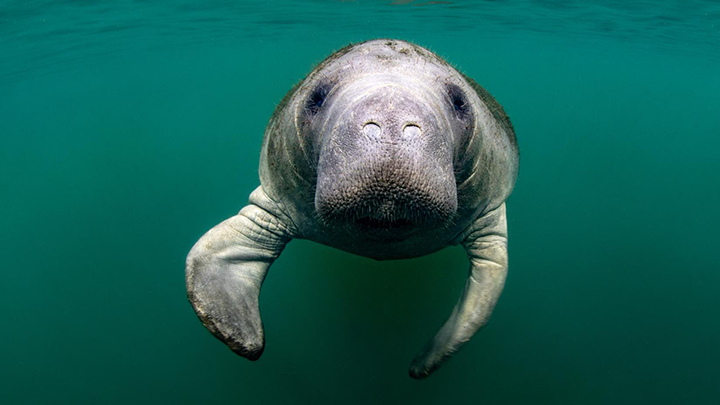
Image - Large with Caption
Manatees are large, fully aquatic, herbivorous marine mammals sometimes known as sea cows.
Image - Grid
- Display two, three, or four images.
Manatees are large, fully aquatic, herbivorous marine mammals sometimes known as sea cows.
Manatees are large, fully aquatic, herbivorous marine mammals sometimes known as sea cows.
Manatees are large, fully aquatic, herbivorous marine mammals sometimes known as sea cows.
Tables
Please note: Tables should only be used to display data. They should not be used for layout or design.
Table - Bordered and Striped
| Heading 1 | Heading 2 | Heading 3 |
|---|---|---|
| Item 1 | Item 2 | Item 3 |
| Item 1b | Item 2b | Item 3b |
Table - Bordered
| Heading 1 | Heading 2 | Heading 3 |
|---|---|---|
| Item 1 | Item 2 | Item 3 |
| Item 1b | Item 2b | Item 3b |
Table - Striped
| Heading 1 | Heading 2 | Heading 3 |
|---|---|---|
| Item 1 | Item 2 | Item 3 |
| Item 1b | Item 2b | Item 3b |
Table - Not Bordered or Striped
| Heading 1 | Heading 2 | Heading 3 |
|---|---|---|
| Item 1 | Item 2 | Item 3 |
| Item 1b | Item 2b | Item 3b |
After you've inserted a Table Snippet:
- Add the Table Caption, Heading(s), and Item(s).
-
To add or delete rows or columns, or to delete the table entirely, right click on the Table and choose which option you'd like to add (i.e. Row > Insert Row Before). You can also make changes to the cells themselves or choose Table Properties to make other adjustments.
-
You can also use the pop-up toolbar and click on the appropriate icon to execute the task.
- You can also make changes to the cells themselves or choose Table Properties to make other adjustments.
- Save your changes.
- Click Publish.
Timeline
The Timeline snippet creates an offset two-column layout that groups events with their accompanying time periods. The snippet requires the Timeline Event Component(s), where users can add additional event details. Please note: Only Timeline Event Component(s) can be used within the "Timeline Item Components" portion of the Timeline Snippet. Timeline Event Component(s) cannot be used with or in addition to any other snippet.
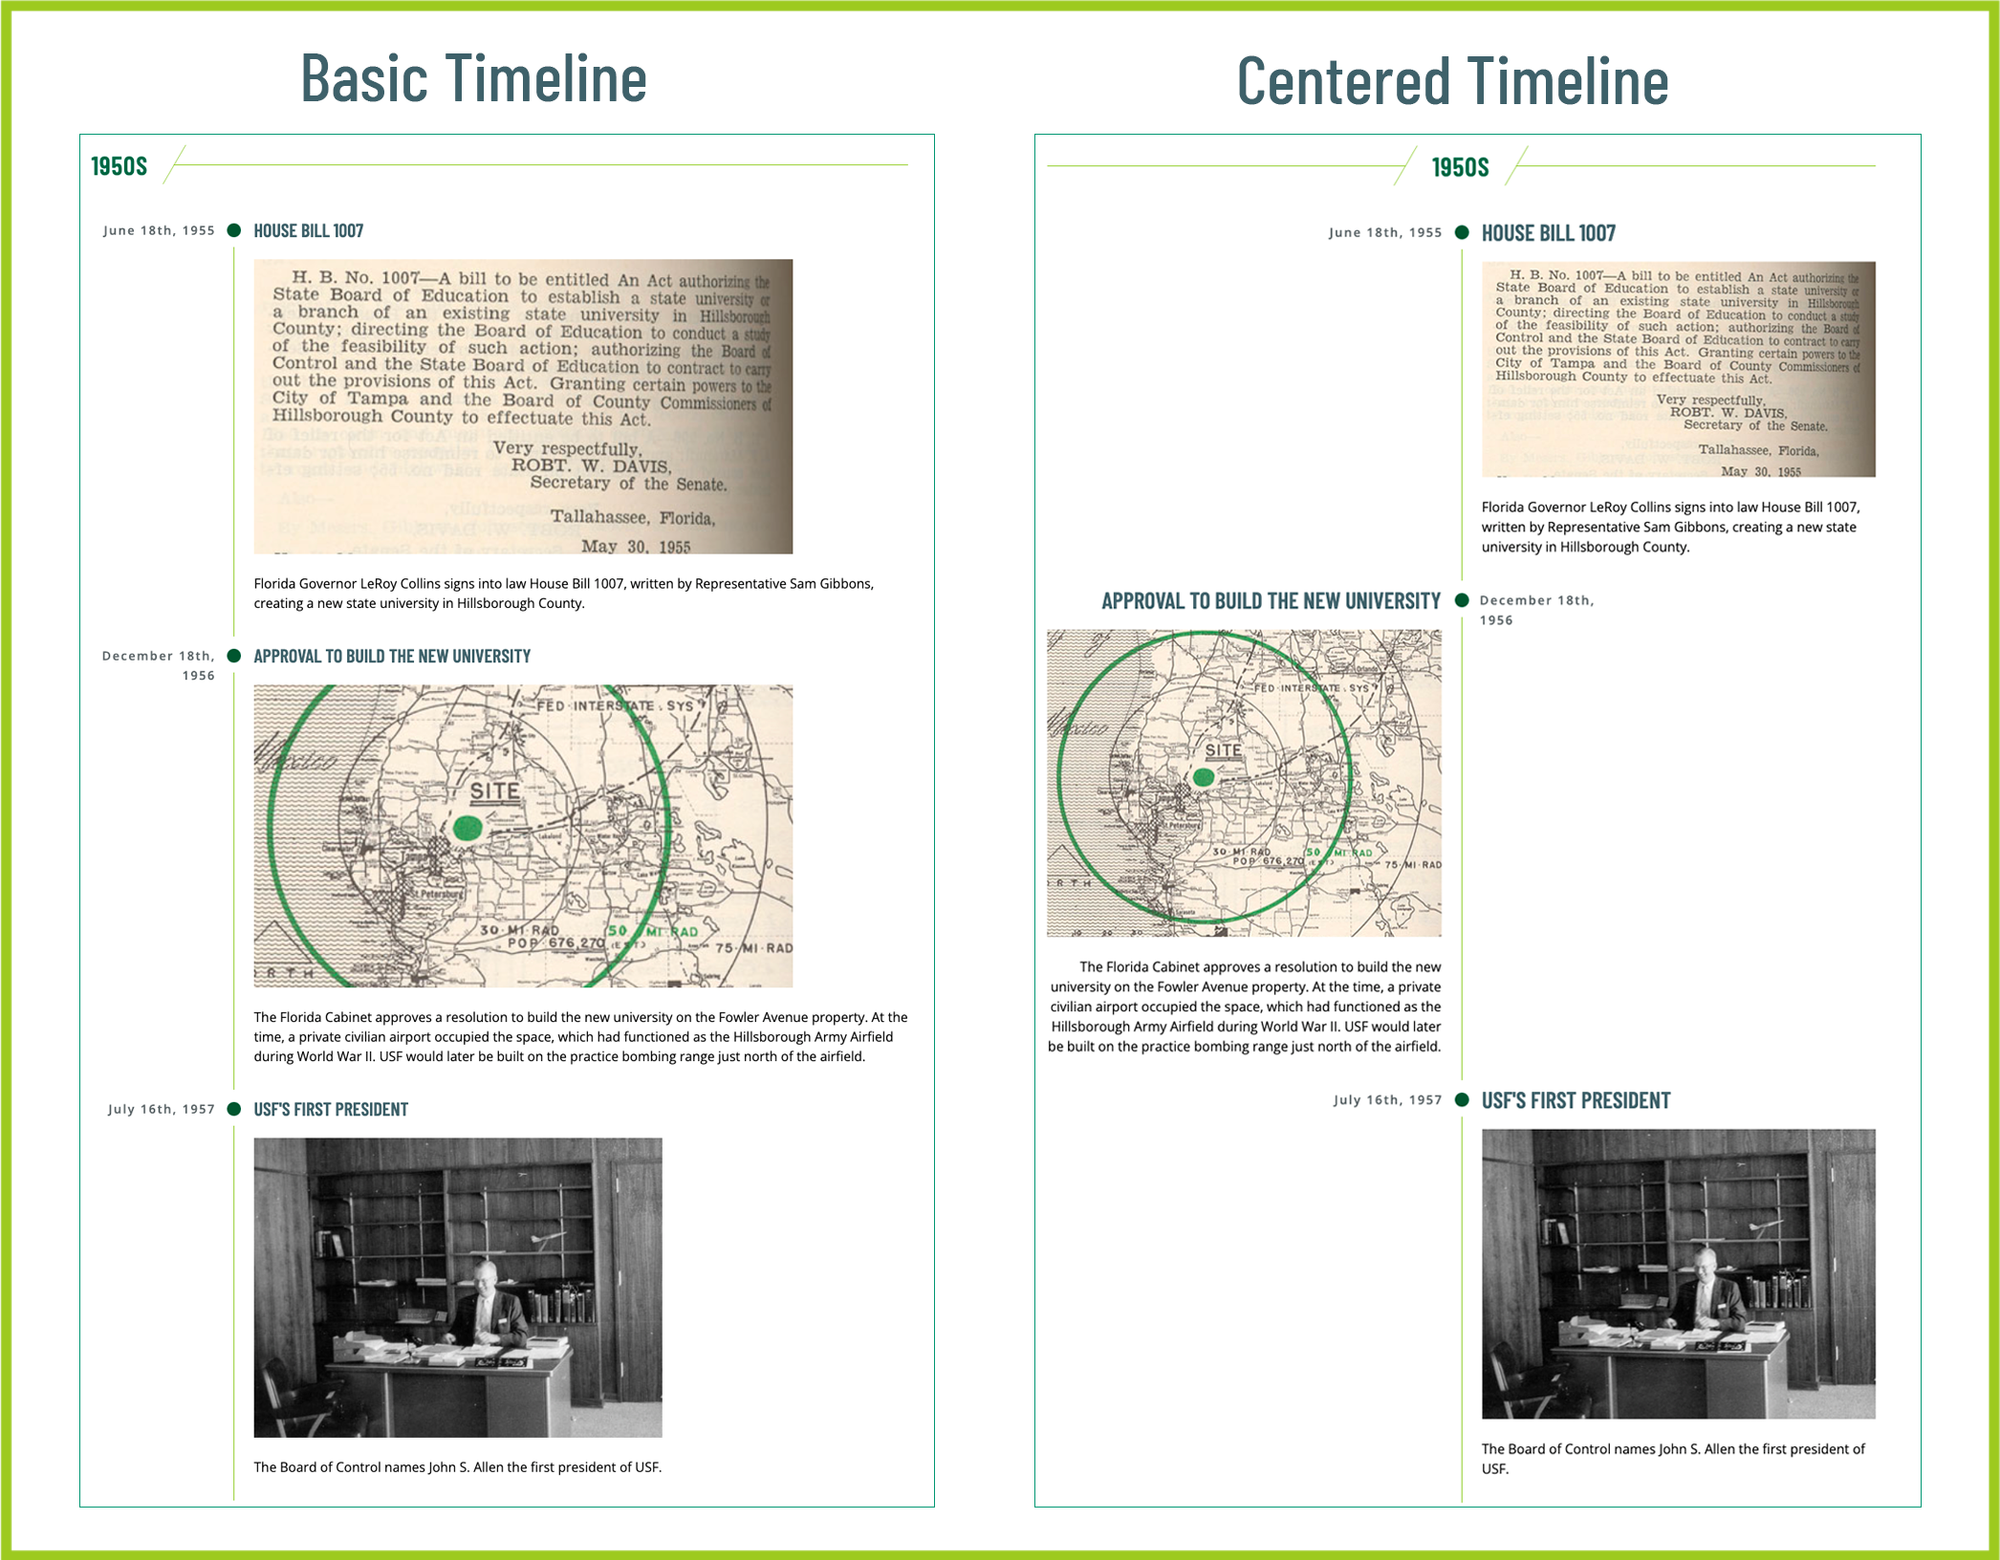
After you've inserted a Timeline Snippet:
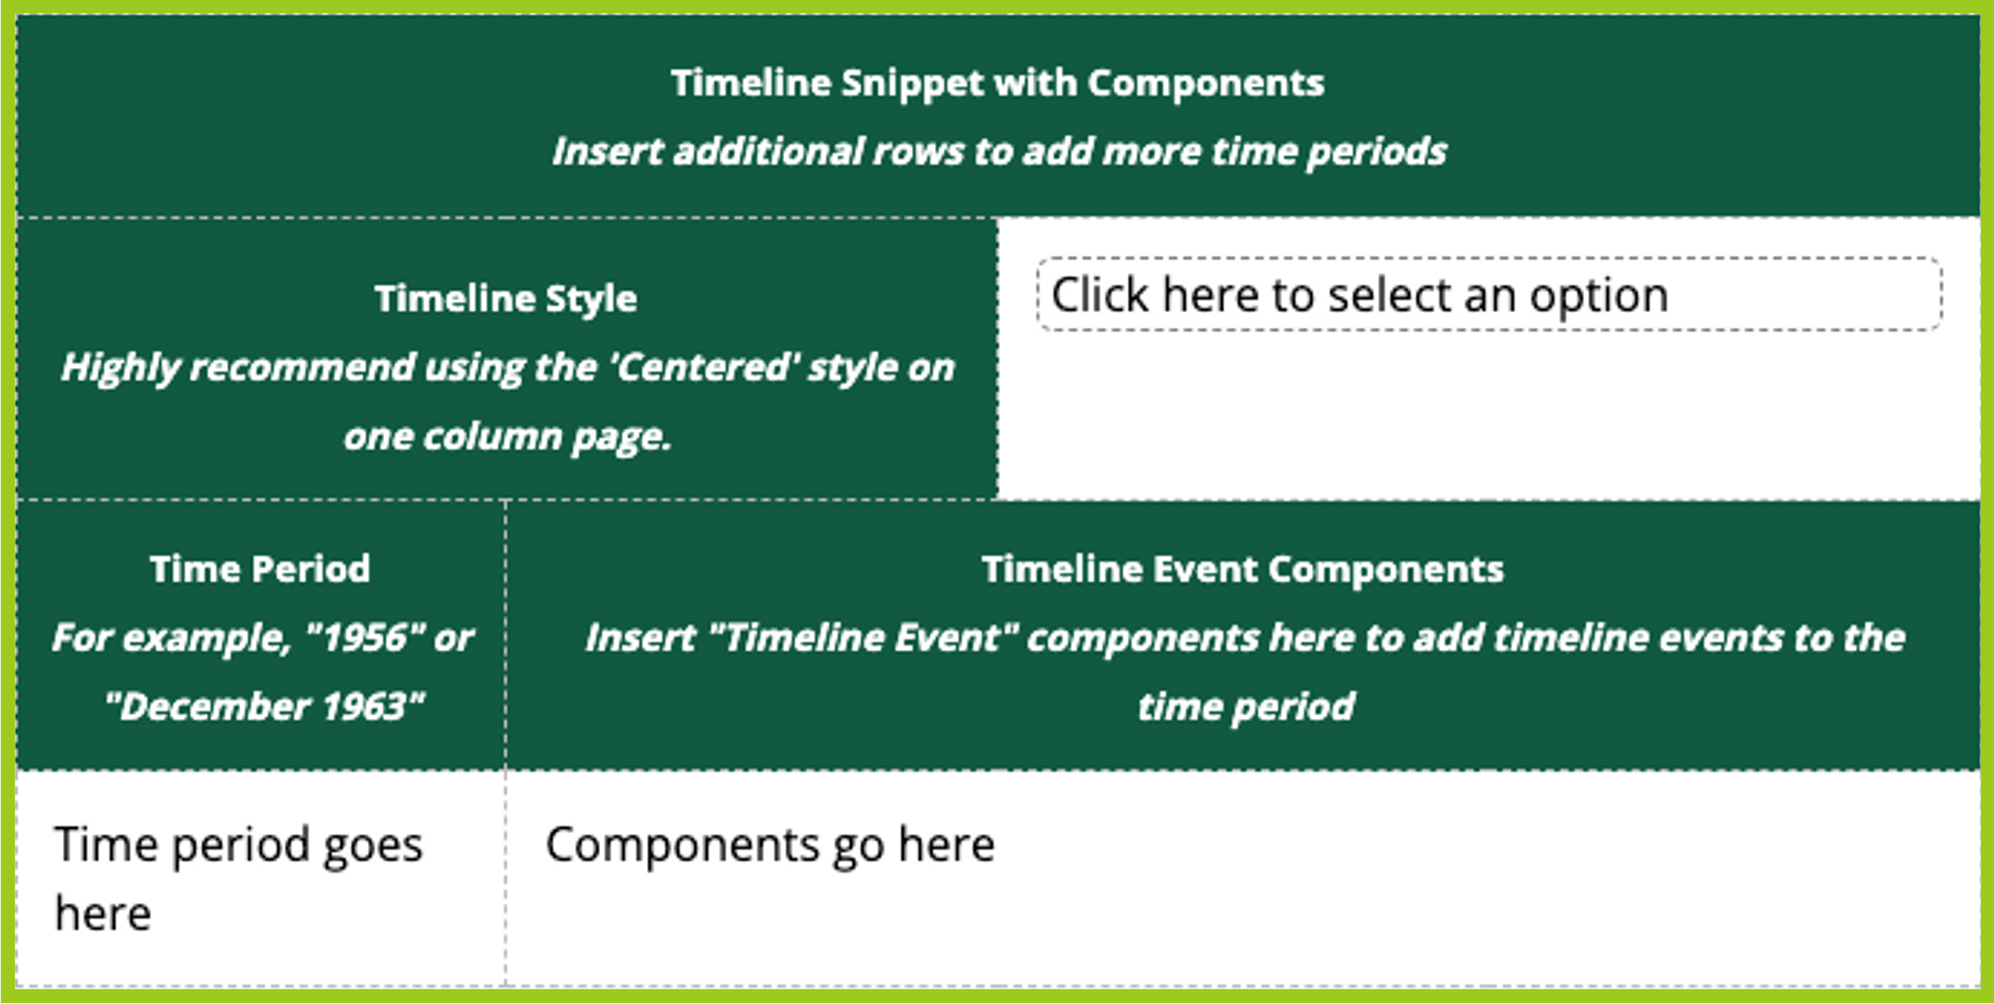
- Choose a Timeline Style (formats the position of events).
- Basic: Simple vertical timeline.
- Centered: Vertical timeline where the events alternate in an ‘even-odd’-type order.
- Type in the event's Time Period.
- Suggested usage is by month and/or year (i.e. 2019, January 2019).
- Insert the Timeline Event Component(s). Please note: More than one Timeline Event Component can be added to a single Time Period.
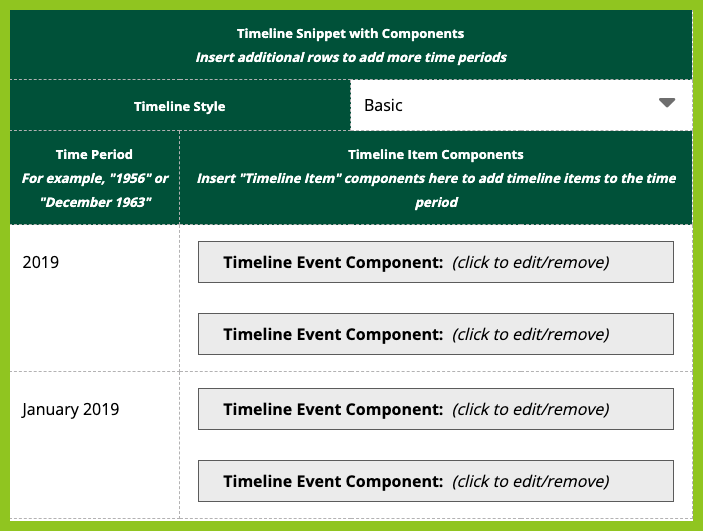
- Please see our resource for further instruction.
Toggle Section
Toggle Section Snippets put content into an accordion-style layout, allowing it to expand and retract. They are often used when there is a lot of content that would cause the reader to have to scroll down the page to find all of the information.
Example: Toggle Section
Toggle Section Content
After you've inserted a Toggle Section Snippet:
- Enter the text you want to appear on the Toggle Section when it is retracted in the "Enter toggle text here." section.
- Enter the content that will be hidden from view, until expanded by clicking the plus sign symbol, in the "Enter toggled content here." section.
- WYSIWYG tools and other Snippets can be used within a Toggle Section Snippet.
- Save your changes.
- Click Publish.
Content - Two-Column
Like its name, Content - Two-Column Snippets are used to create two columns of content side-by-side on a web page.
After you've inserted a Content - Two-Column Snippet:
- Enter the text you want to appear in each column.
- WYSIWYG tools and other Snippets can be used within the columns.
- Save your changes.
- Click Publish.

Content - Two-Column Snippets can include images.
You can also use WYSIWYG Editor functionality within Content - Two-Column Snippets.
Like bulleted lists:
- Thing 1
- Thing 2
- Thing 3
- Thing 4
And different style elements.